Clay Bead Bracelet Idea
About two years ago, I got into clay bead bracelets, necklaces, and other jewelry making after my son brought home a bracelet he made at school.
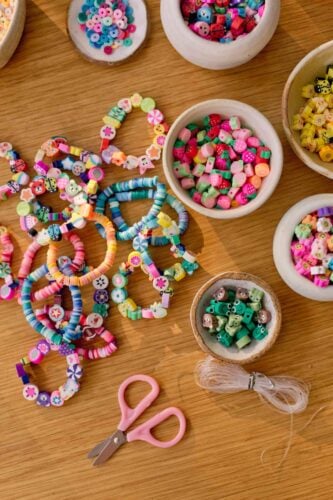
I started looking up clay beads on Etsy and as it turns out, there's some really cute beads out there for jewelry making. And so much variety too. You can make clay bead bracelets using only small flat beads. You can make bracelets using more tubular clay beads. And also shapes and themes of every kind. Loads of options - and great for necklaces and keychains as well.
So I thought I'd share some of my sources for clay beads and how you can make these cheerful accessories with just a couple of supplies.
Cost: $20
Equipment
- Scissors
- bead spinner optional - more on that in blog post
- collapsible eye needle or beading needle optional
Materials
- polymer clay beads in different shapes and/or flat round polymer clay beads*
- elastic cord or stretchy jewelry cord
Instructions
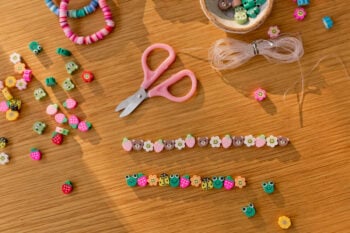
Measure and lay out design.
- Layout your design and determine the number of beads needed for the proper length. I find it easier to quickly lay out the beads on a flat surface first, in the order I think I'll want them in. Then I can switch anything out that doesn't sit well or look the way I want it to before I get started beading. But before I come up with the design, I need to know approximately how long I need the finished bracelet to be. Which is as simple as knowing the wrist size of the person the bracelet is for. That will determine how many beads I need to complete the design.
Cut elastic cord.
- Next, cut a piece of elastic cord or stretchy jewelry cord that is about an inch longer on each side (so 2 inches total) as your finished bracelet will be. Ex: If you need the bracelet to be 7 inches long when finished, you'll cut a piece of cord that is nine inches long.
Then start adding beads to the cord.
- If you're using a beading needle of some kind, place the end of the cord through the eye, and you can start adding the beads onto the needle and then through to the cord, in the order of the layout you designed in step one. If you're not using a beading needle, you can start stringing beads directly onto the cord.
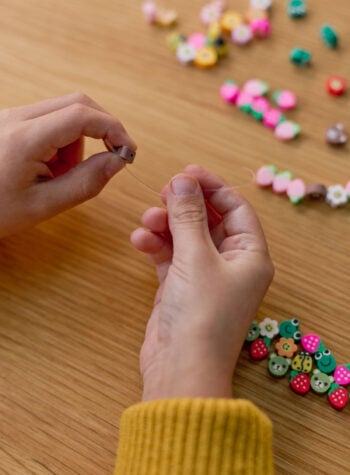
- And if you're using a bead spinner, thread your needle with the cord, add your flat round beads, turn on the bead spinner (I wouldn't start at full speed), and start threading the beads onto the needle. It may take a couple of tries to get the hang of it, but once you do, it goes pretty fast.
Double check length and knot the ends together.
- Double check to make sure the completed length of the bracelet works for you. Then pulling the two loose ends together, tie them into a tight double or triple knot. Cut off any excess string that is left after the knot. Be careful not to cut into the knot, so give a little extra space around it before cutting excess cording. OR leave the excess and just twist / move the beads around a little so they go over the knot and string and it's ready to wear.