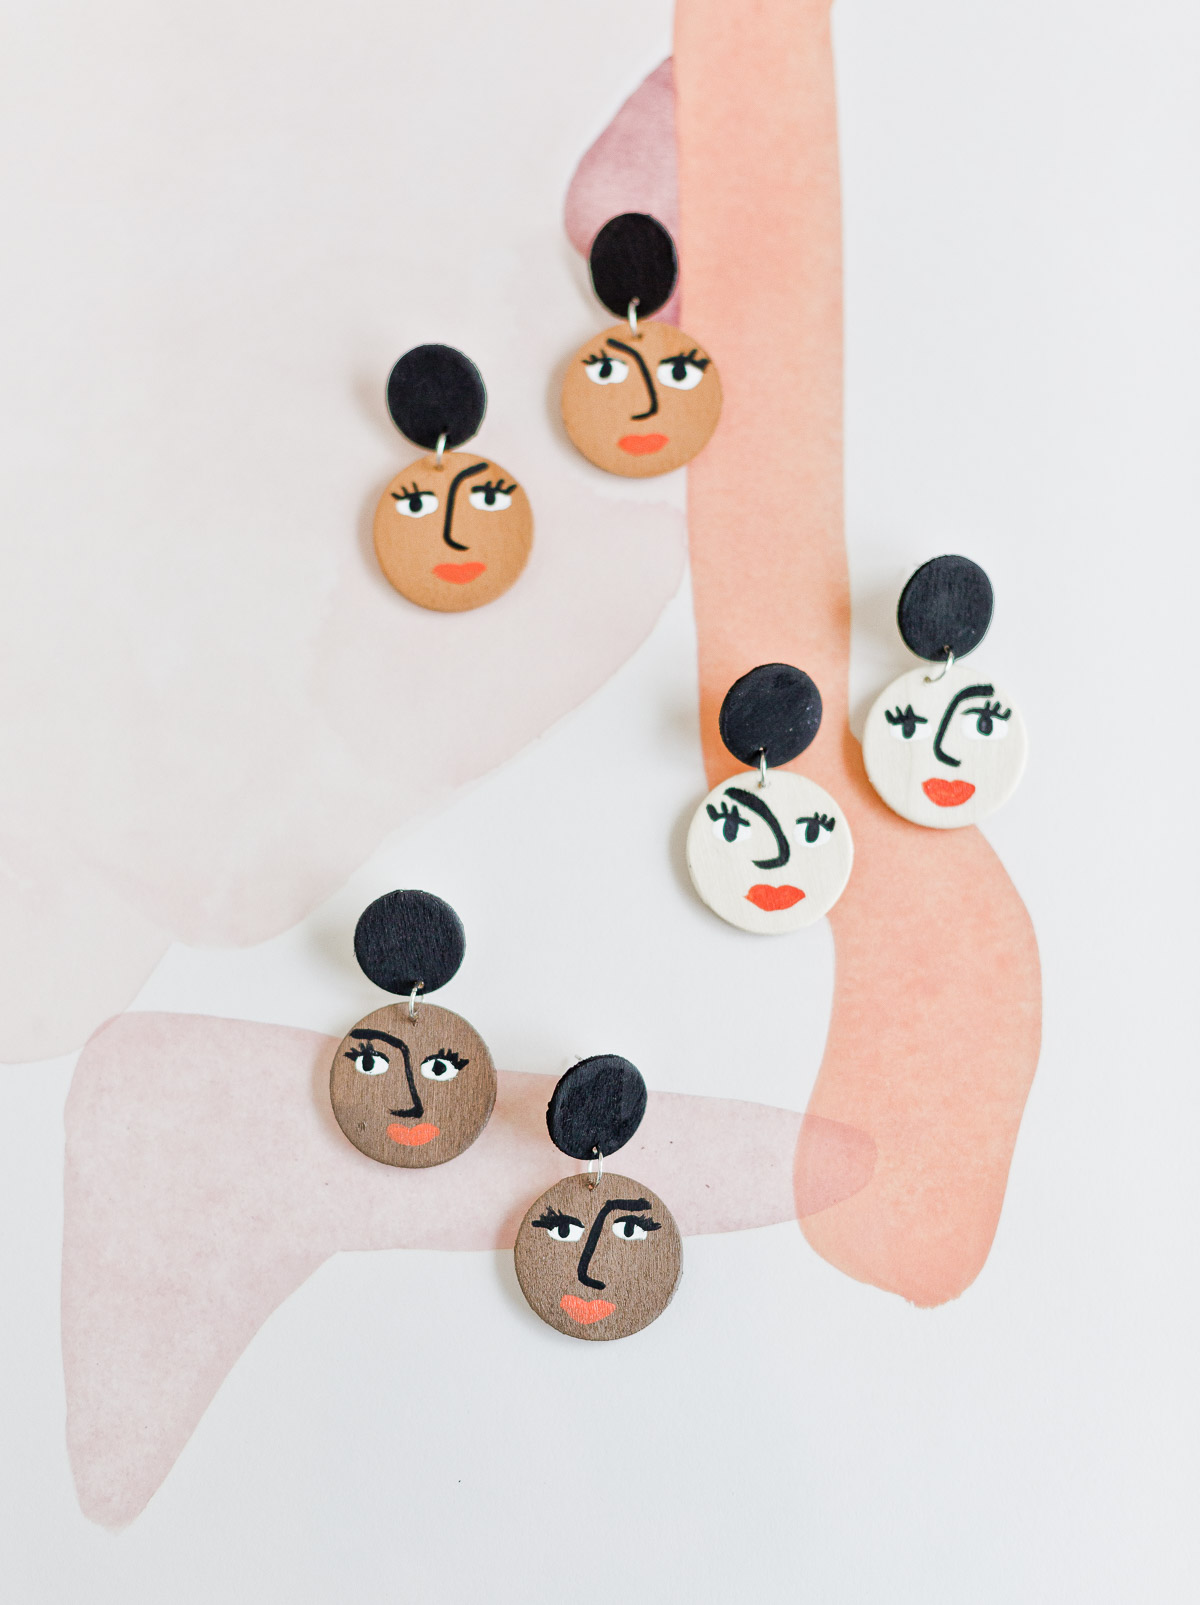
DIY earrings are one of my go-to projects when I want to make something kind of easy, just for fun. So today I’m sharing these cute DIY face earrings that check those two boxes and more.
These little ladies are somewhere between DIY statement earrings and everyday earrings. I think they could go either way. What do you think?

A little DIY jewelry talk before we jump in… One of the reasons I like small projects like these so much is that they’re not that serious. I mean…I’m not making a piece of furniture or saving the world over here. So on days when I feel like I need an escape, a light jewelry project like this one is perfect.
Almost like a therapy of sorts. Something to take my mind out of the day to day and into something creative. And I have to admit, once these face earrings were finished, it became hard not to look at these smiling faces without a little smile coming to my face as well. So, I hope this 15 minute DIY to try will bring a smile to your face too. Here’s how to make DIY face earrings in 15 minutes…

Materials for DIY Face Earrings
- acrylic paint in desired colors
- paint brushes (one super thin and a regular size should be enough)
- craft circles in two sizes*
- drill and 1/16” drill bit
- small jump rings
- jewelry pliers
- earring posts
- super glue
* I used the large and medium sizes.
How to Make DIY Face Earrings

1. Drill the wooden circles. Start by drilling a small hole near the edge of your circles. Get as close to the edge as you can. *Watch those fingers though.

2. Paint a base color. Paint your circles with the base color (or you can leave it natural) and wait for it to dry. Don’t forget to paint the sides of the circles and the backs, because you’ll definitely see that when you’re wearing them.
3. Paint the face details. Using the thin brush, paint your details on. I started with the whites of the eyes. When they dry, add the pupil and the nose/eyebrow than the lips.

4. Assemble earrings. Once completely dry, you can attach the circles together with the jump ring.
Then, glue the earring post on the back close to the top edge with super glue. Hold the post in place for a few long seconds to ensure its secure. Wait for the glue to dry completely before wearing!

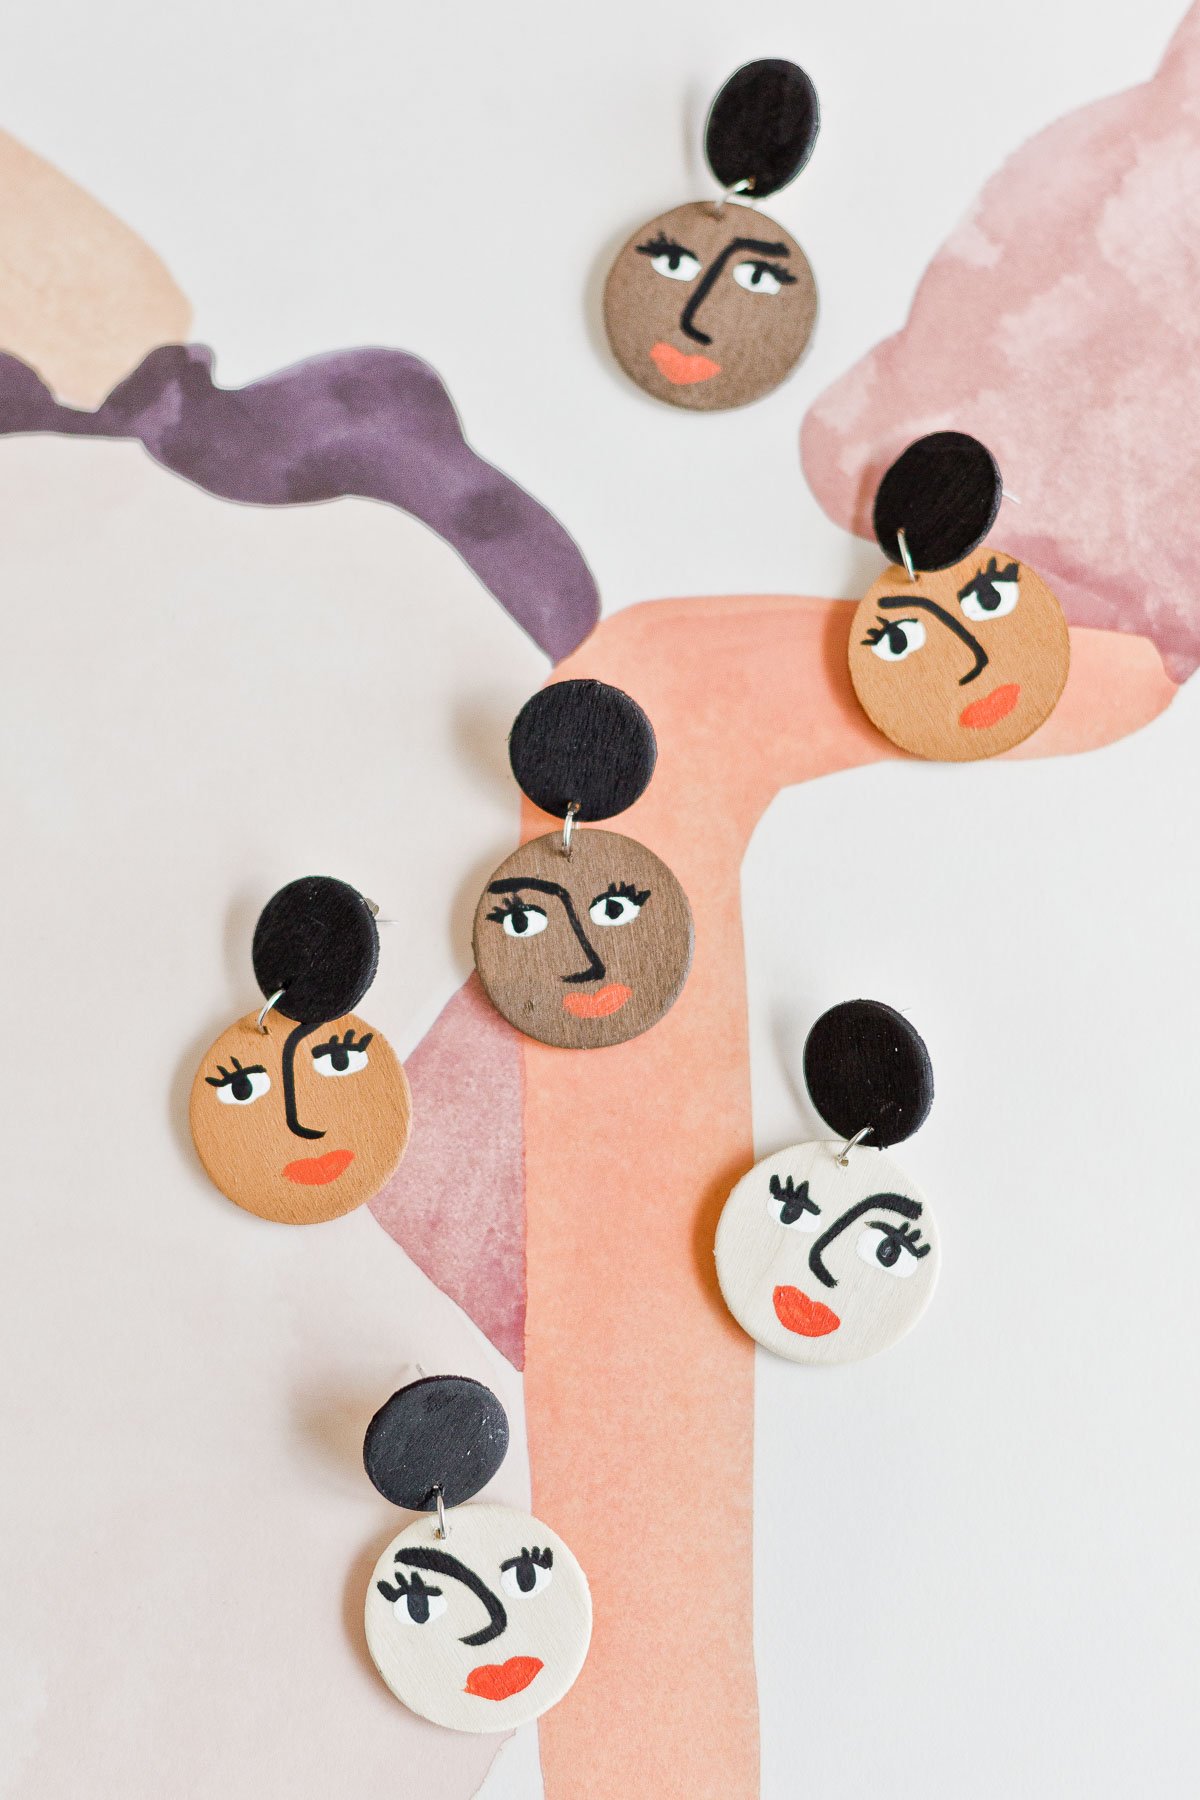
P.S. Felt compelled to mention that the backdrop for this earring project is actually a piece of artwork that I usually have hanging on my wall. It’s by Jen Garrido and is one of the pieces I usually have hanging in my guest bedroom.
2 comments | Click here to reply
Happy to hear that Amy! They’re definitely statement earrings, which I love! Always a conversation starter. 🙂
Brittni-Brittni
I absolutely love these!!! and… who doesn’t love turning round after being asked where something was but with a cheeky ‘I made them’
Amy | www.amyrebeccarobinson.com
Amy