Summer cocktails are a must for the hotter temperatures. And these 17 sippers are not only delicious, they’re also beautiful to look at.
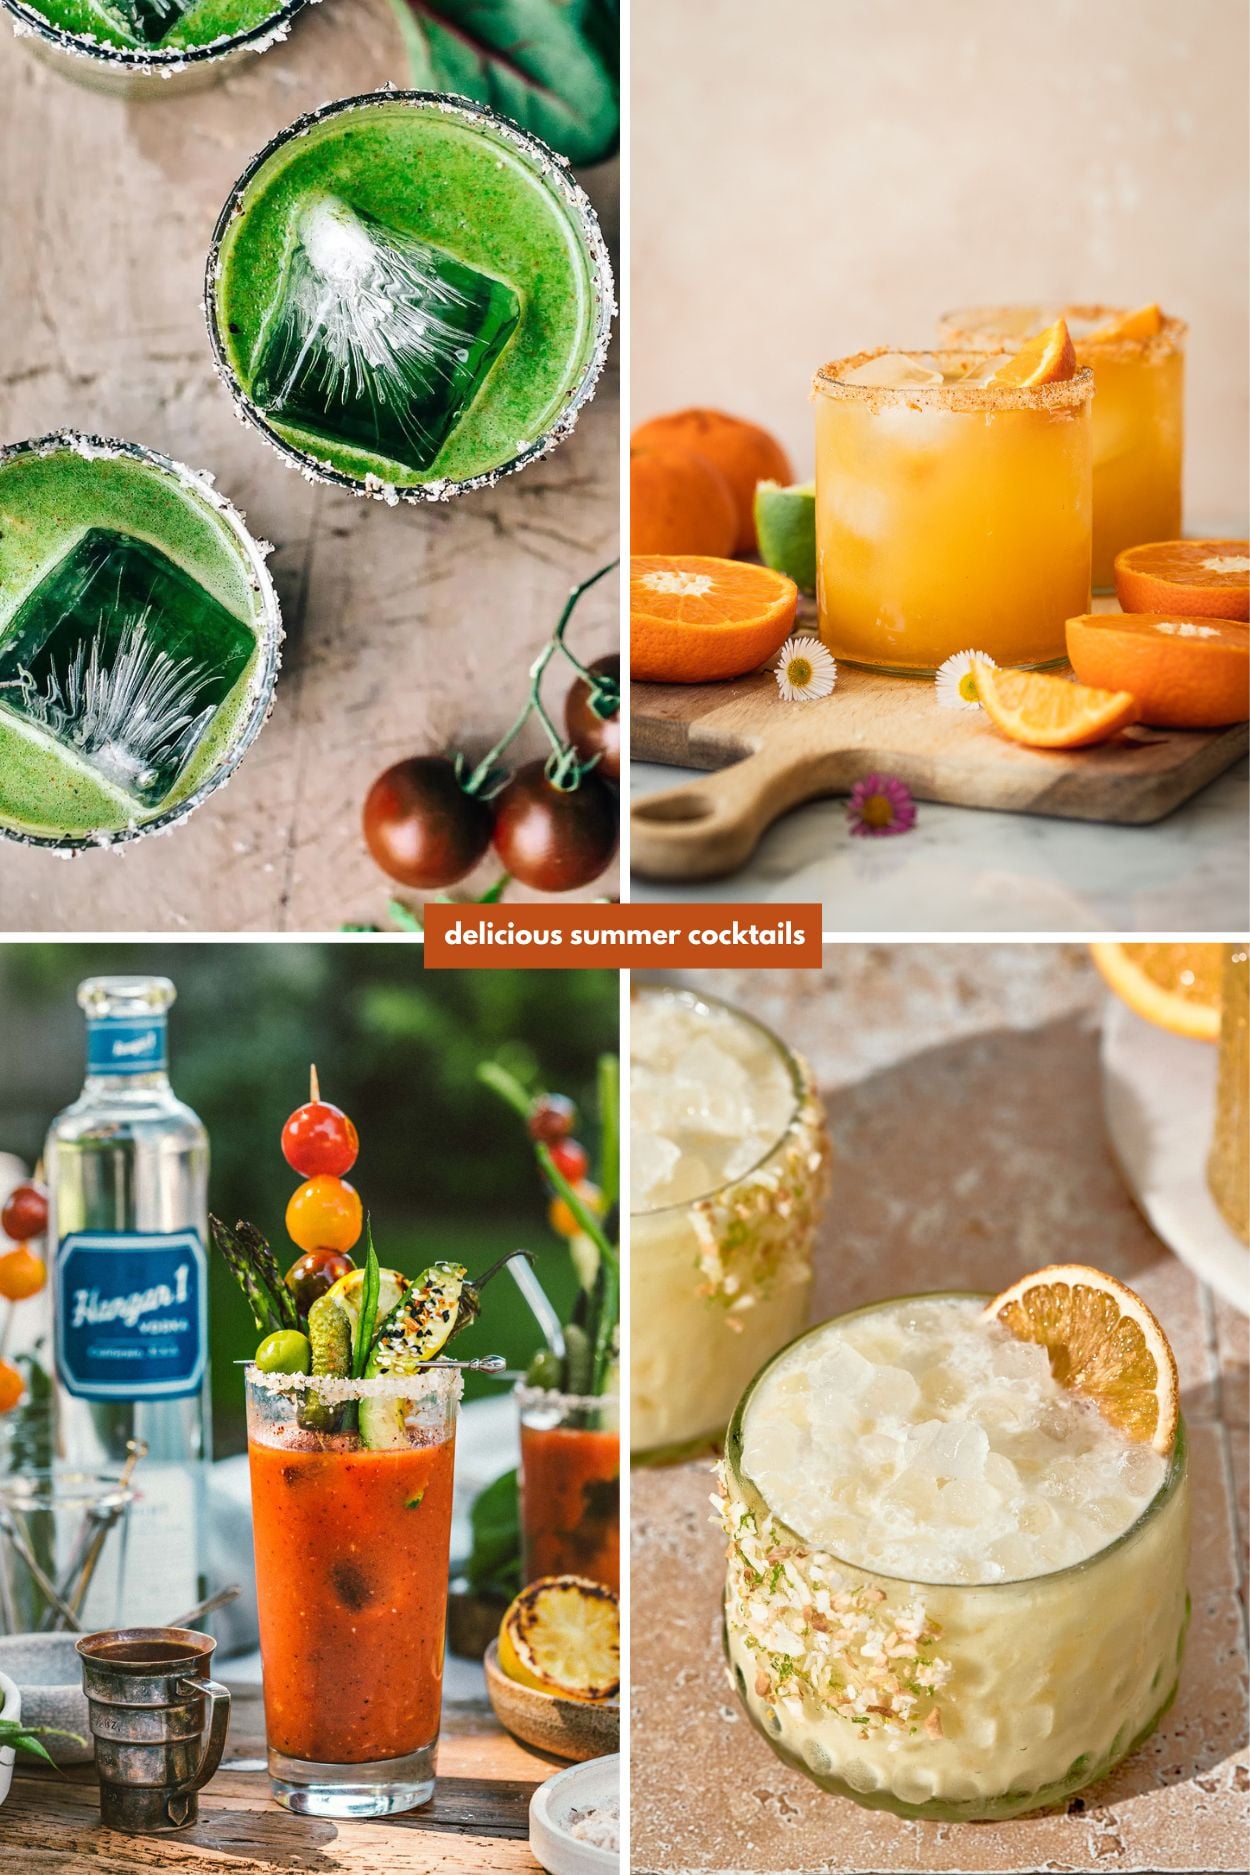
An occasional summer cocktail during the hottest months of the year can really hit the spot. Especially when the list of to-dos is short and there’s a little time to relax and spend time with friends. And in my search for the perfect cocktail recipes for this time of year, I’ve stumbled upon a whole bunch (17 to be exact) of delicious drinks that would be perfect for summertime get-togethers.
There are so many good recipes to try, but if we’re picking favorites… Number 7 and 13 on the list are probably the most intriguing flavor combos, if you’re looking for something unique. Summertime recipe number 4 is the perfect cocktail if you’re also a little hungry (heavy on the edible garnishes) and number 2 is just my all-time favorite summer cocktail. Click through for all 17 drinks to beat the heat.