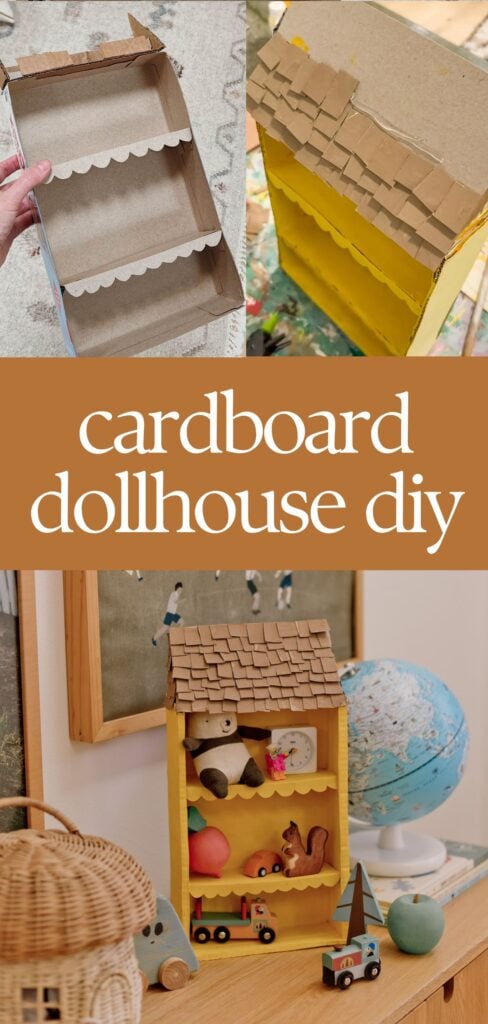
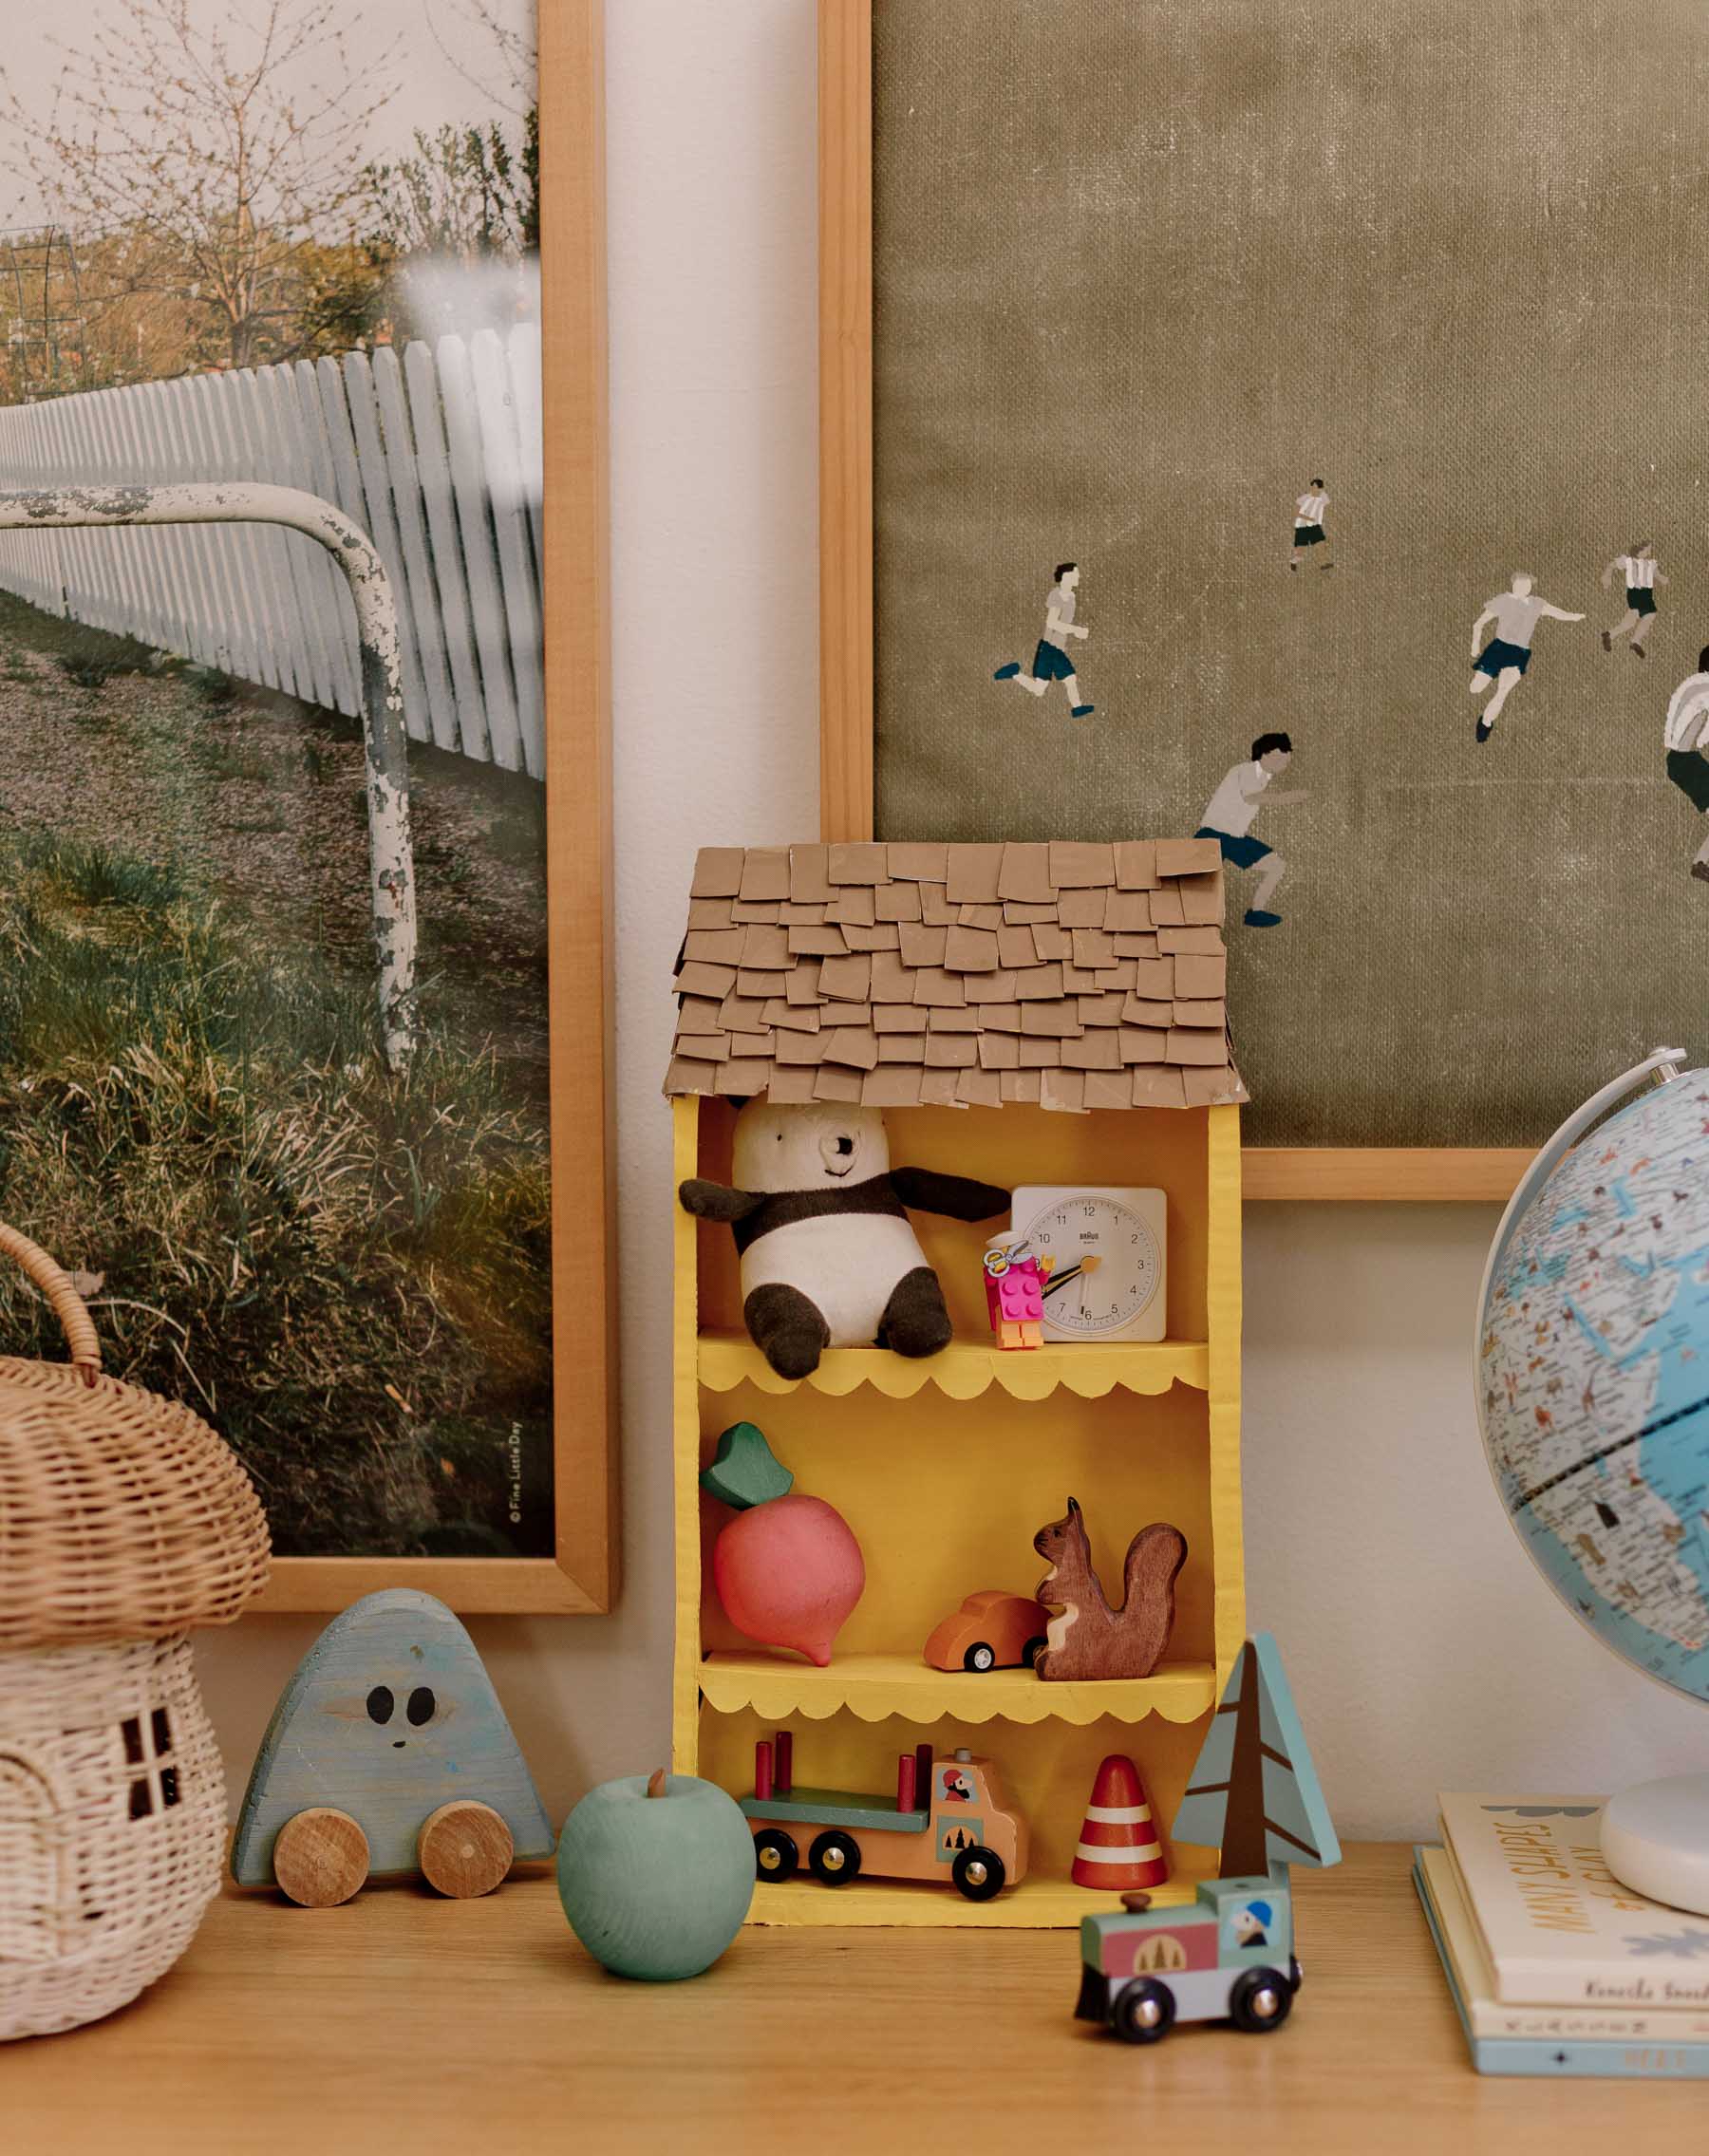
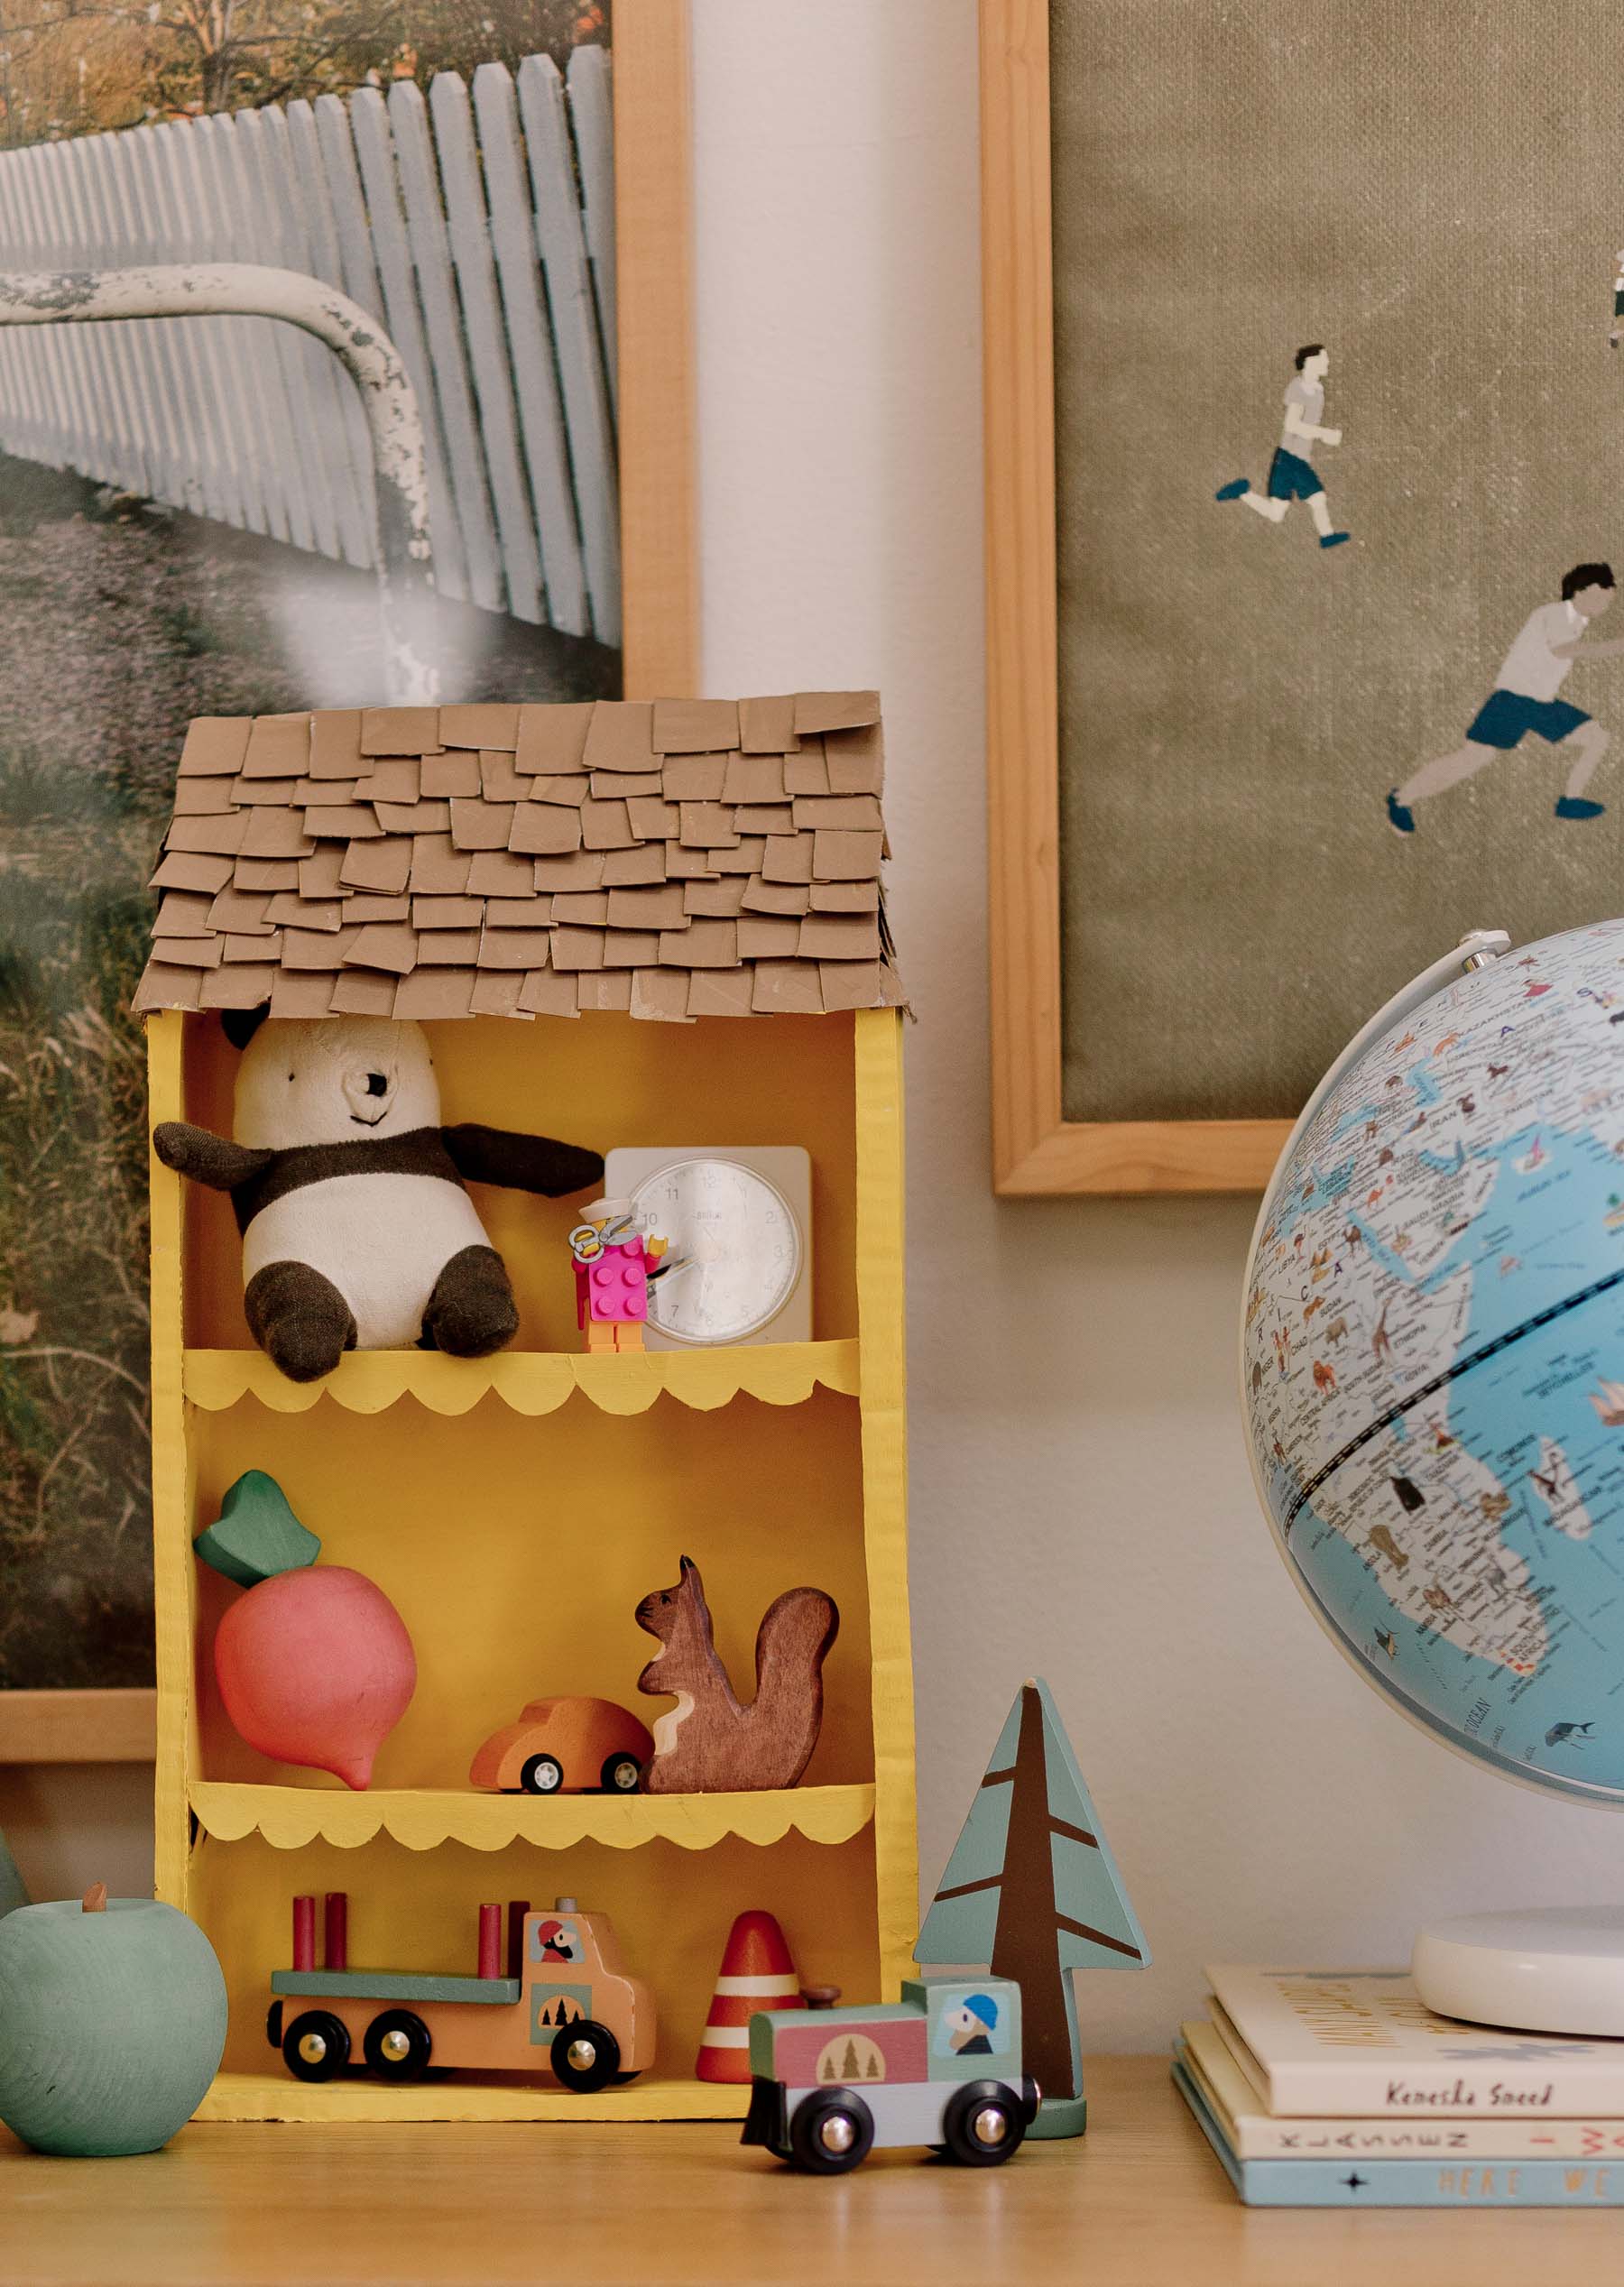
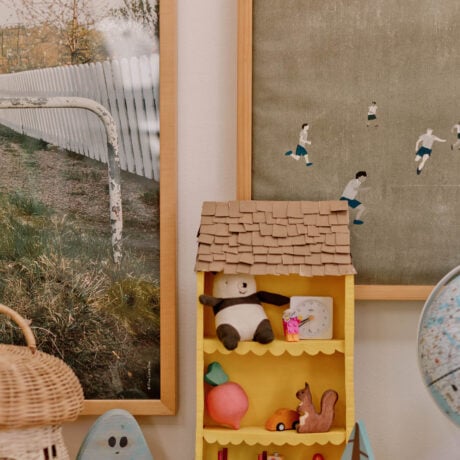
A cereal box becomes a cute cardboard dollhouse / toy storage with just a few tweaks.
Turn an empty cereal box into a charming DIY dollhouse that doubles as toy storage, with just a few simple materials.
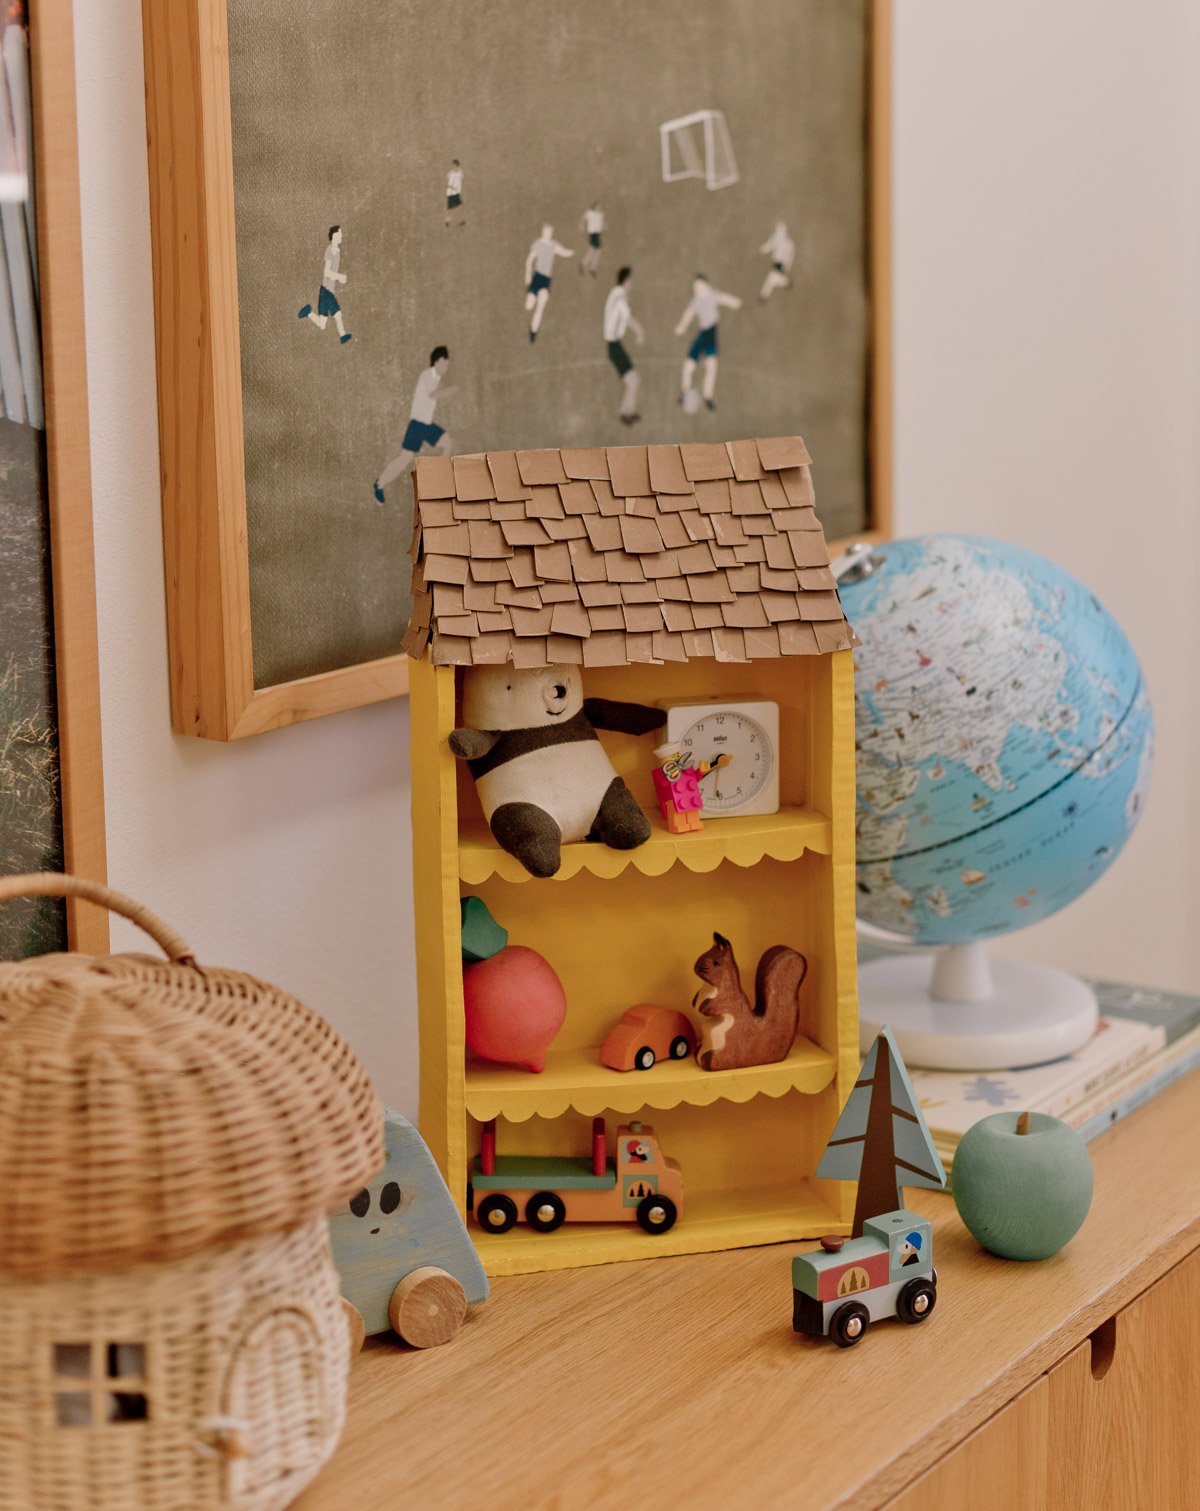
I made this mini dollhouse / storage shelf for my son a couple years ago and I never shared the tutorial. But he still uses it 2 years later, so I figured it would be worth sharing.
Makes a great weekend project for kids and parents to do together too!
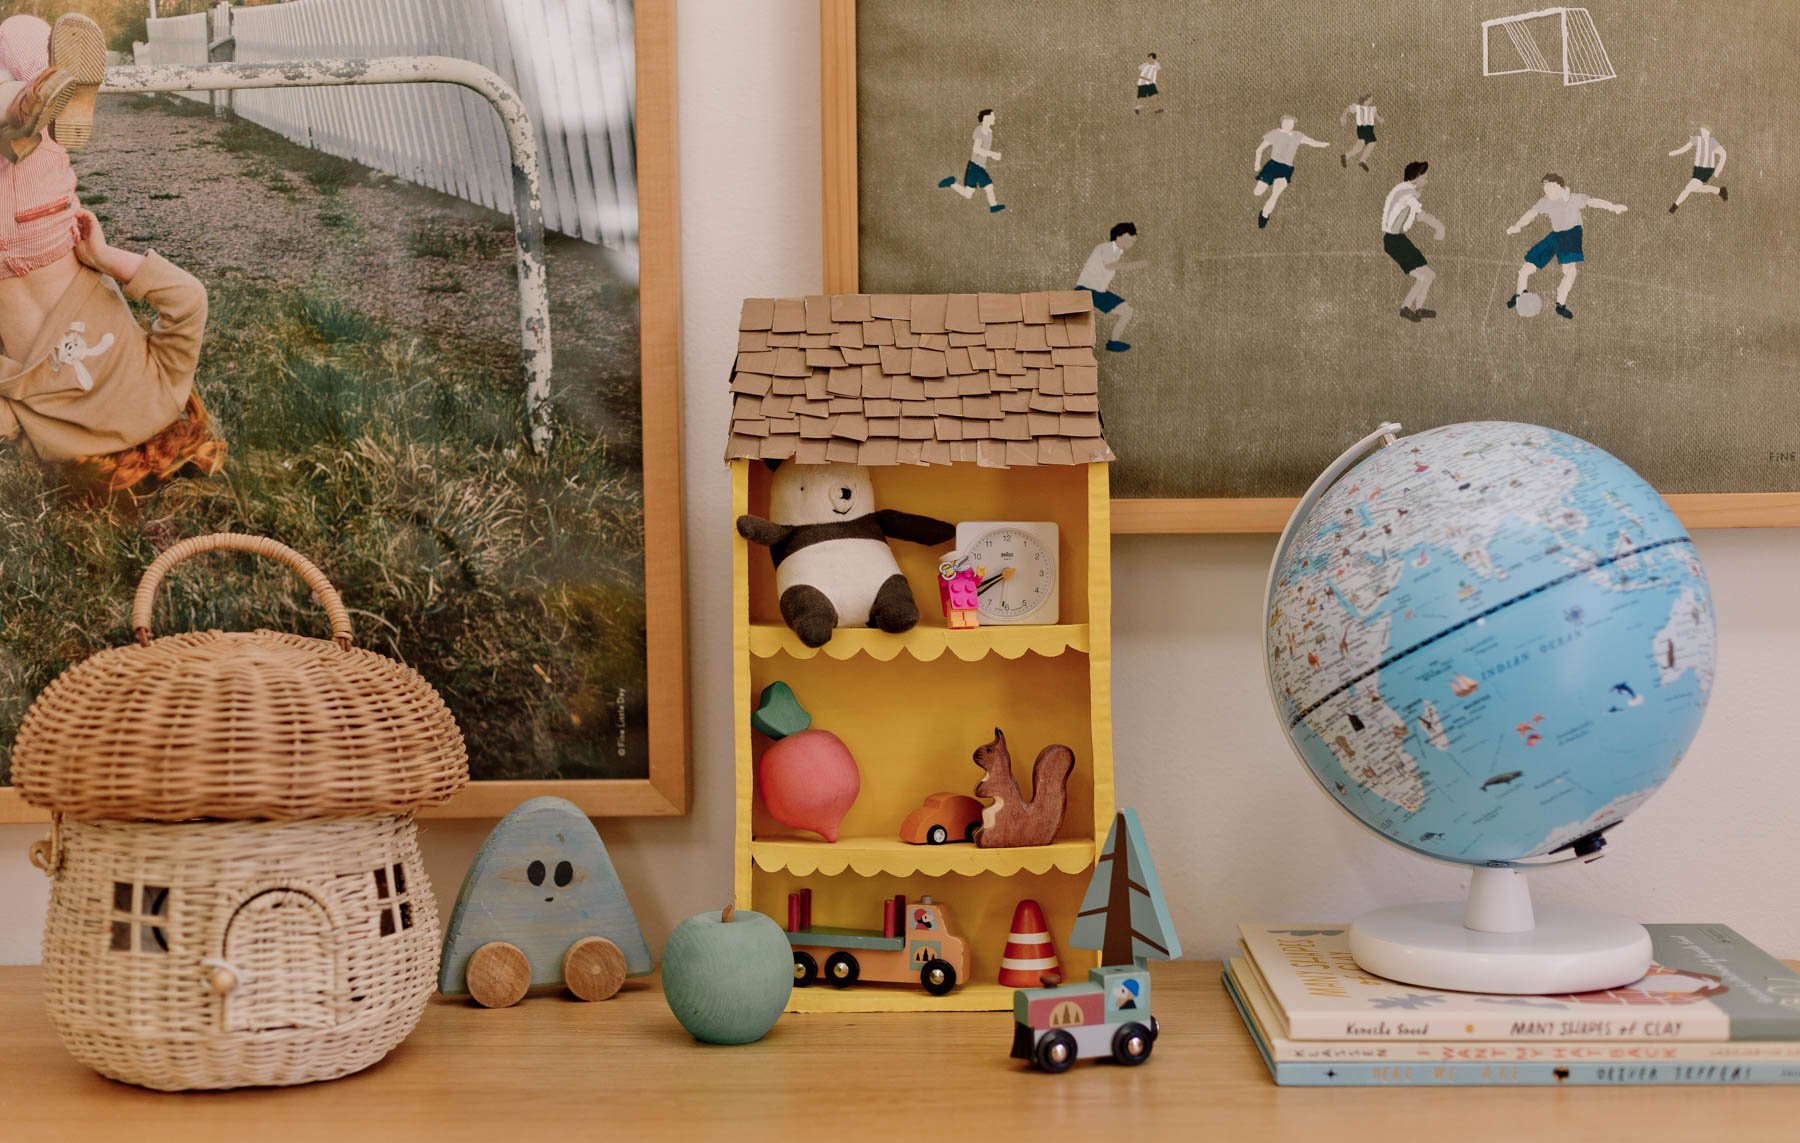
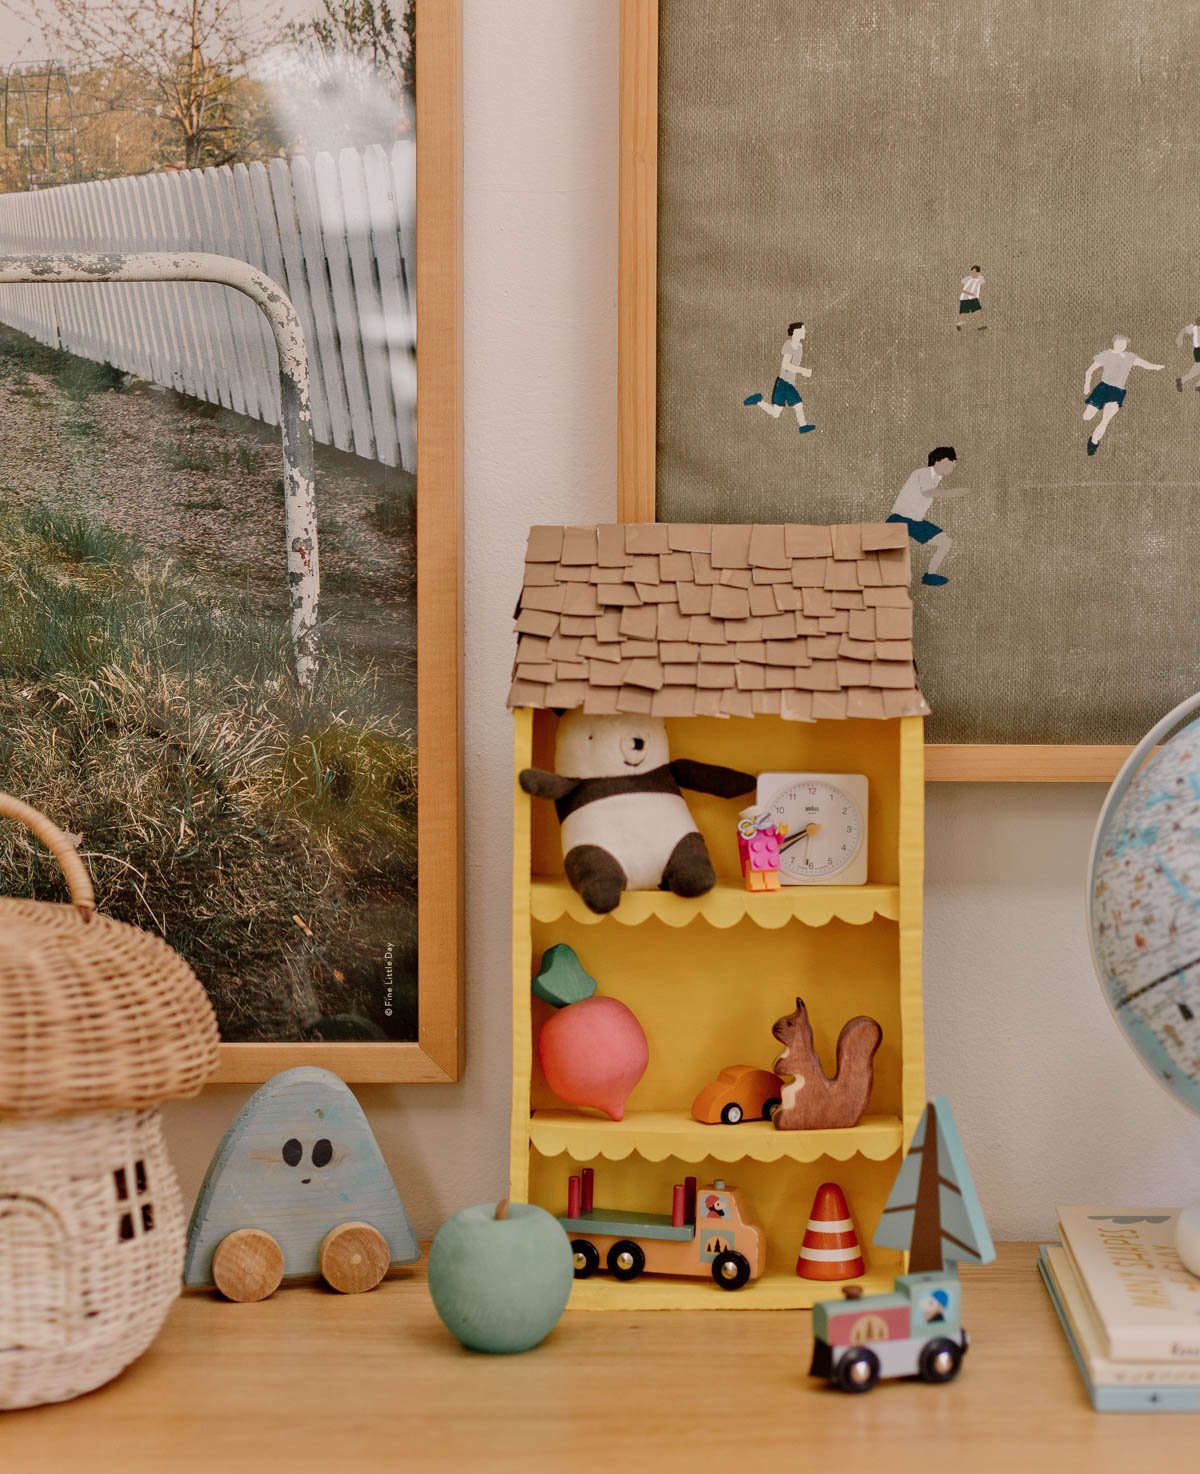
You can mount this DIY dollhouse / shelf on the wall, sit it on the dresser, or stack a few together for an entire neighborhood of storage. It’s a great way to encourage imaginative play while keeping clutter at bay. Here’s how to make your own cardboard dollhouse…
Supplies
- cardboard cereal box
- thicker cardboard (from a shipping box is ideal)
- scissors
- glue gun
- paint and paint brush
How to make a cardboard dollhouse
1. Cut the cereal box.
Start with a cereal box and some thicker cardboard from a shipping box. Carefully cut the front panel from the cereal box, leaving all other sides intact.
2. Reinforce with more cardboard.
Reinforce the inside of the box (back panel, sides, and bottom with thicker shipping box cardboard. Use a glue gun to attach.
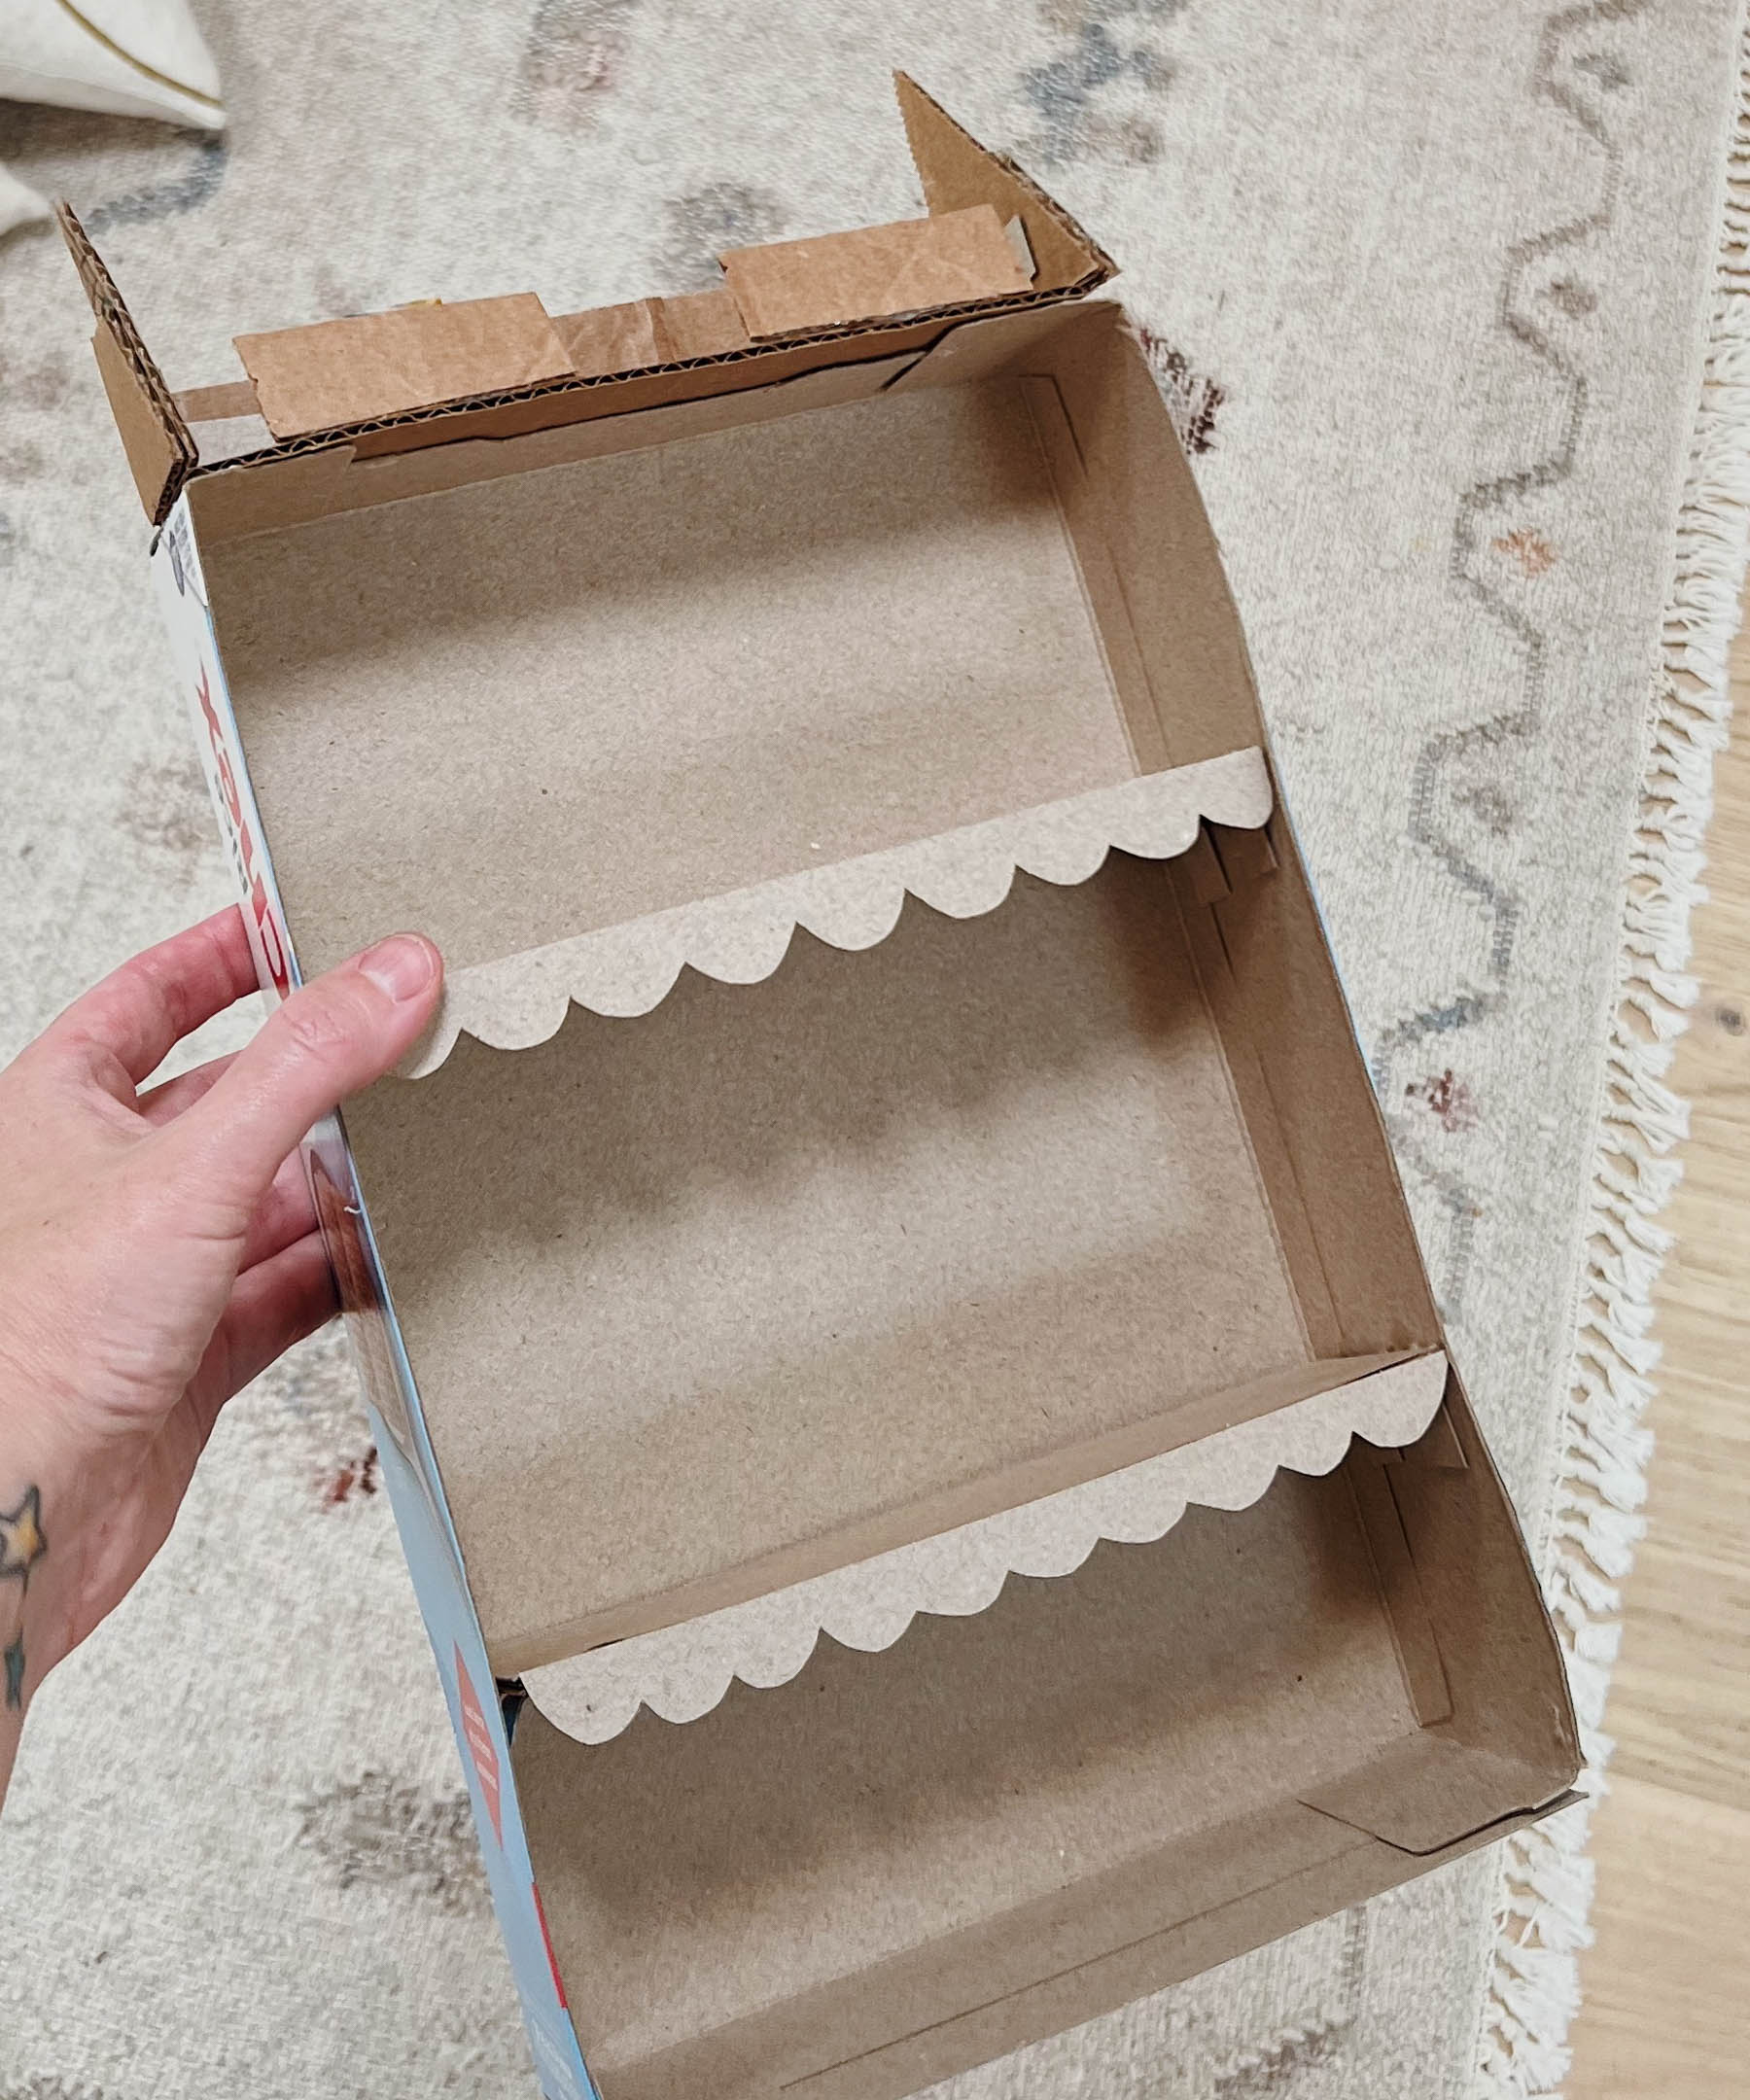
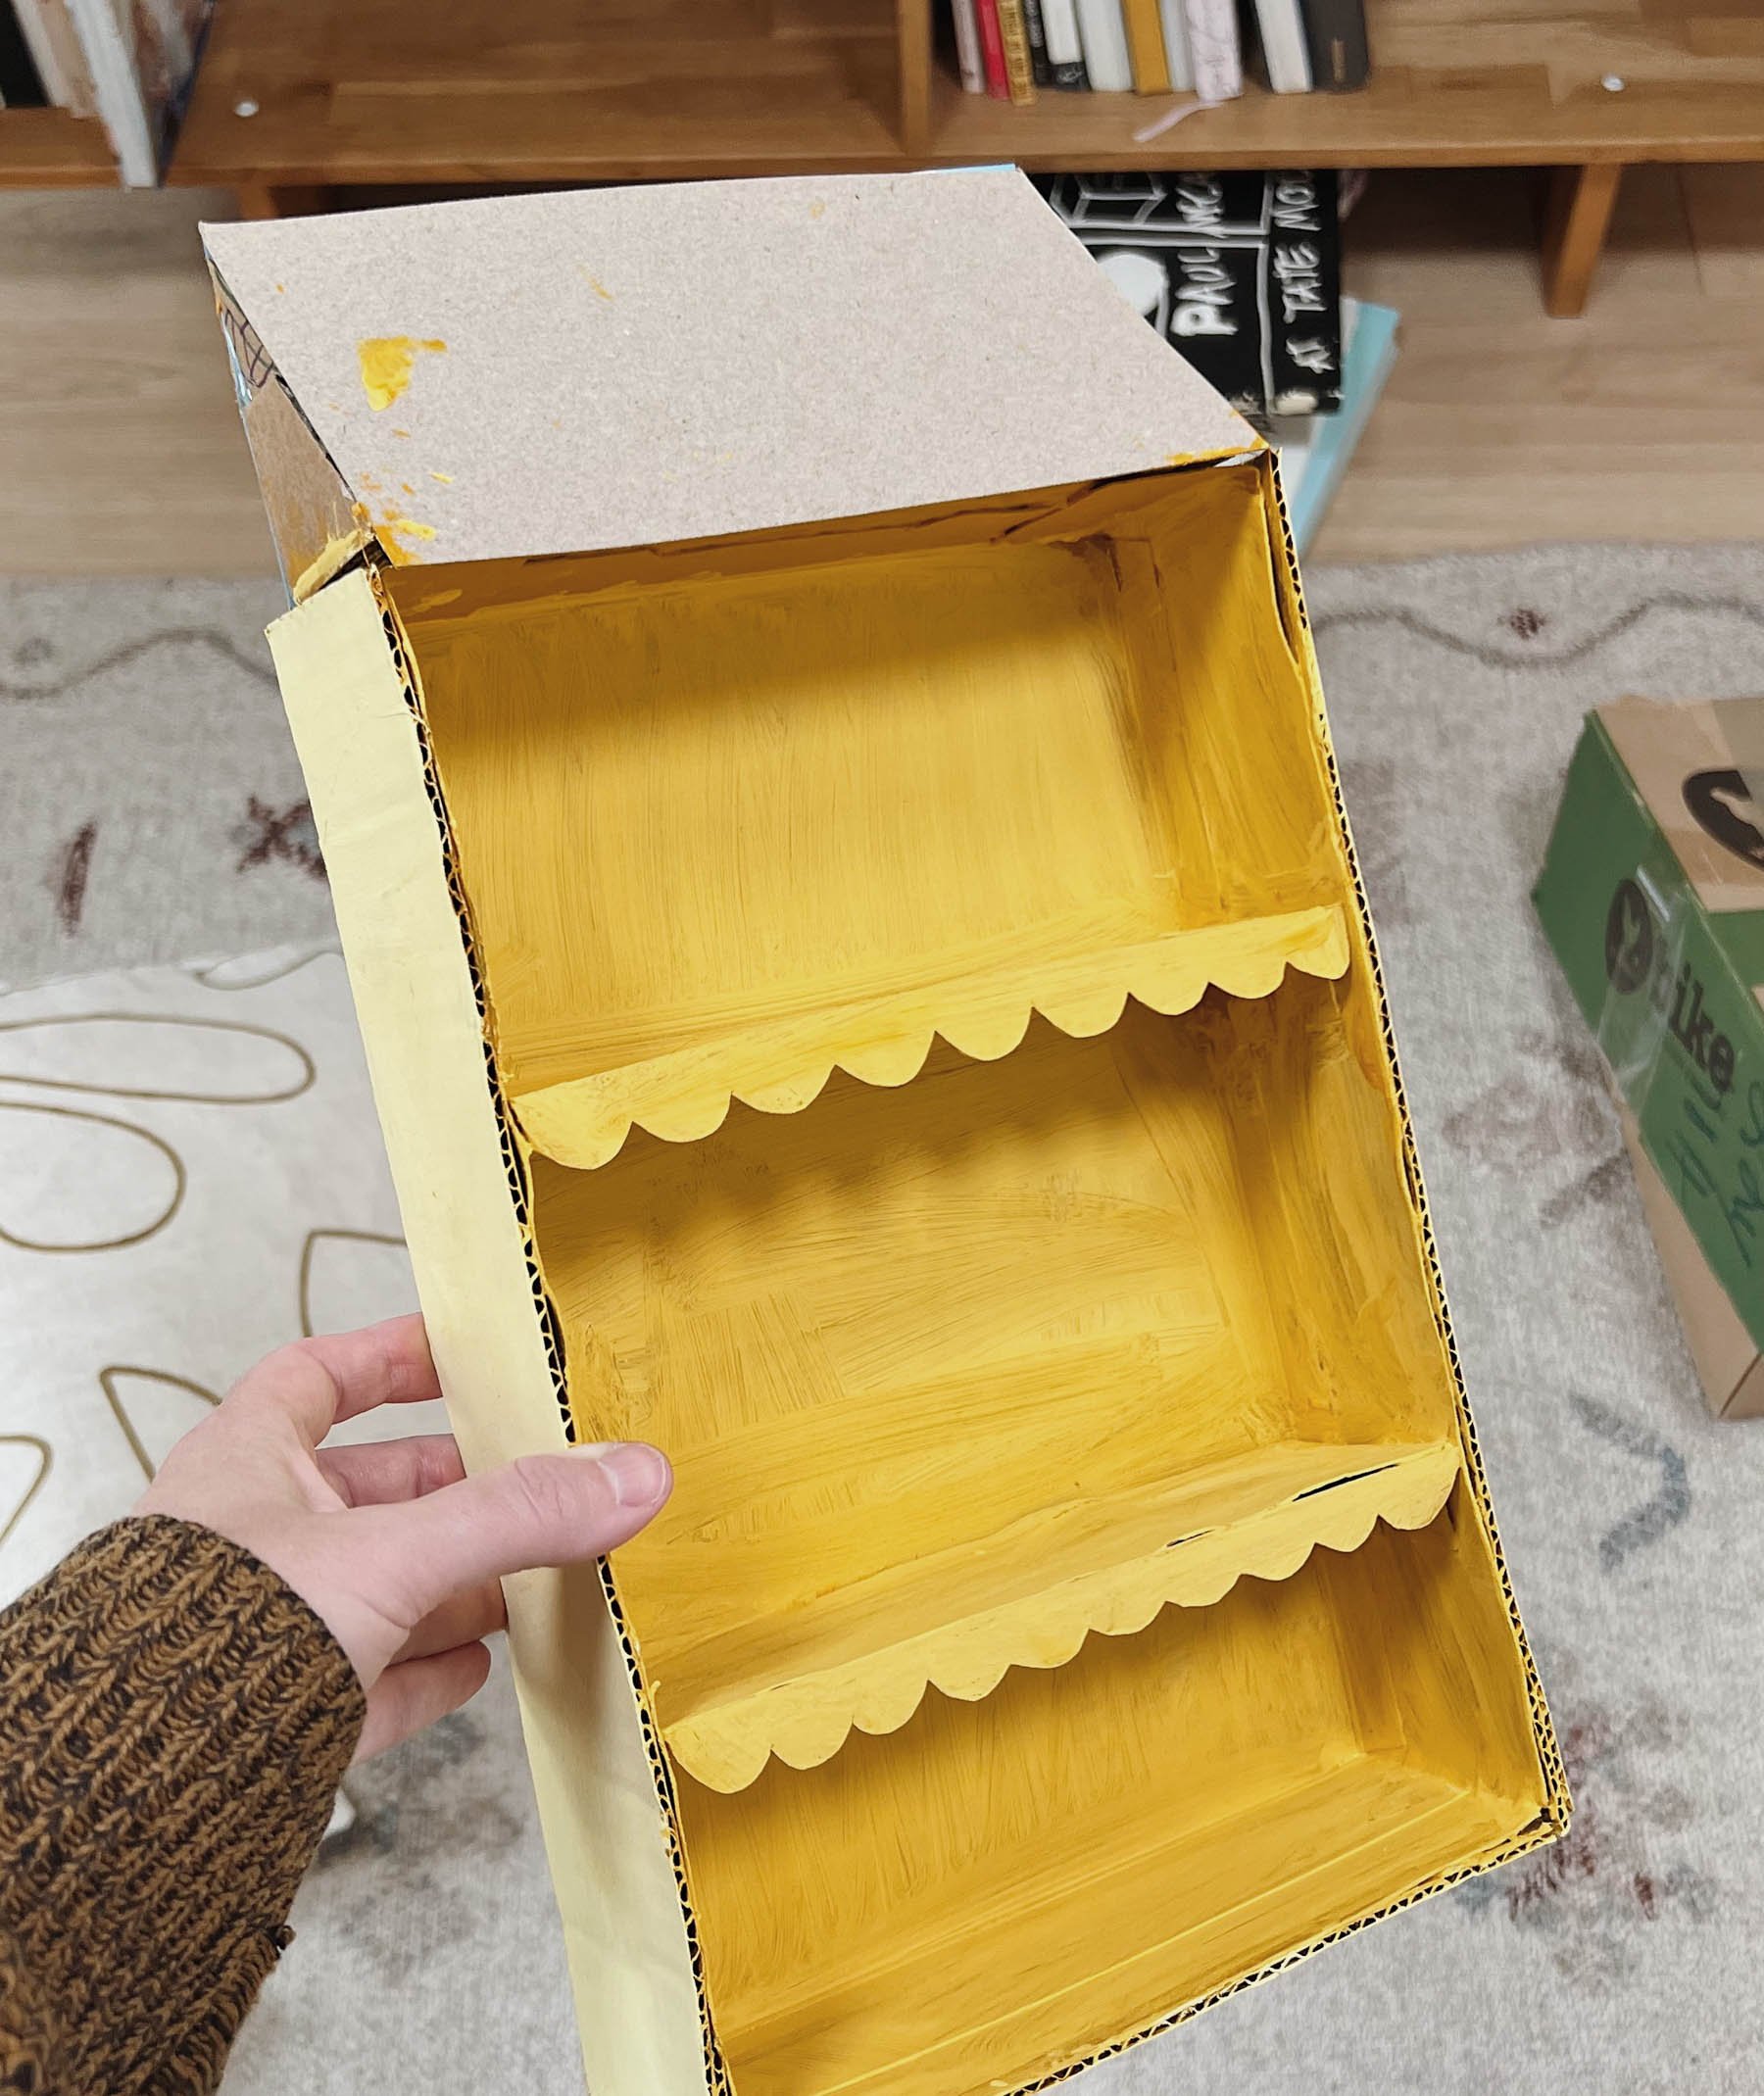
3. Build and attach the shelves.
Then start building the shelves. I just measured the inside of the box and cut cardboard pieces to fit. I doubled them up to make each one more sturdy and then added little support flaps underneath each shelf.
Glue them into the inside of the box at varying heights.
4. Add decoration.
Add a decorative edge to each shelf, like scallops, if desired, with more cardboard. Glue them on.
5. Make a roof.
Roof time! I’m sure there are easier ways to make the roof, but here’s what I did… I glued some cardboard flaps to the front and triangles to each side to create the roof angle. Once those were glued to the top of the cereal box, I glued a larger sheet of cardboard to the flaps and the triangles on the side. Then a back plate.
6. Paint.
Time to paint. Paint the dollhouse base (everything but the roof) whatever color you decide. You’ll likely need a few coats.
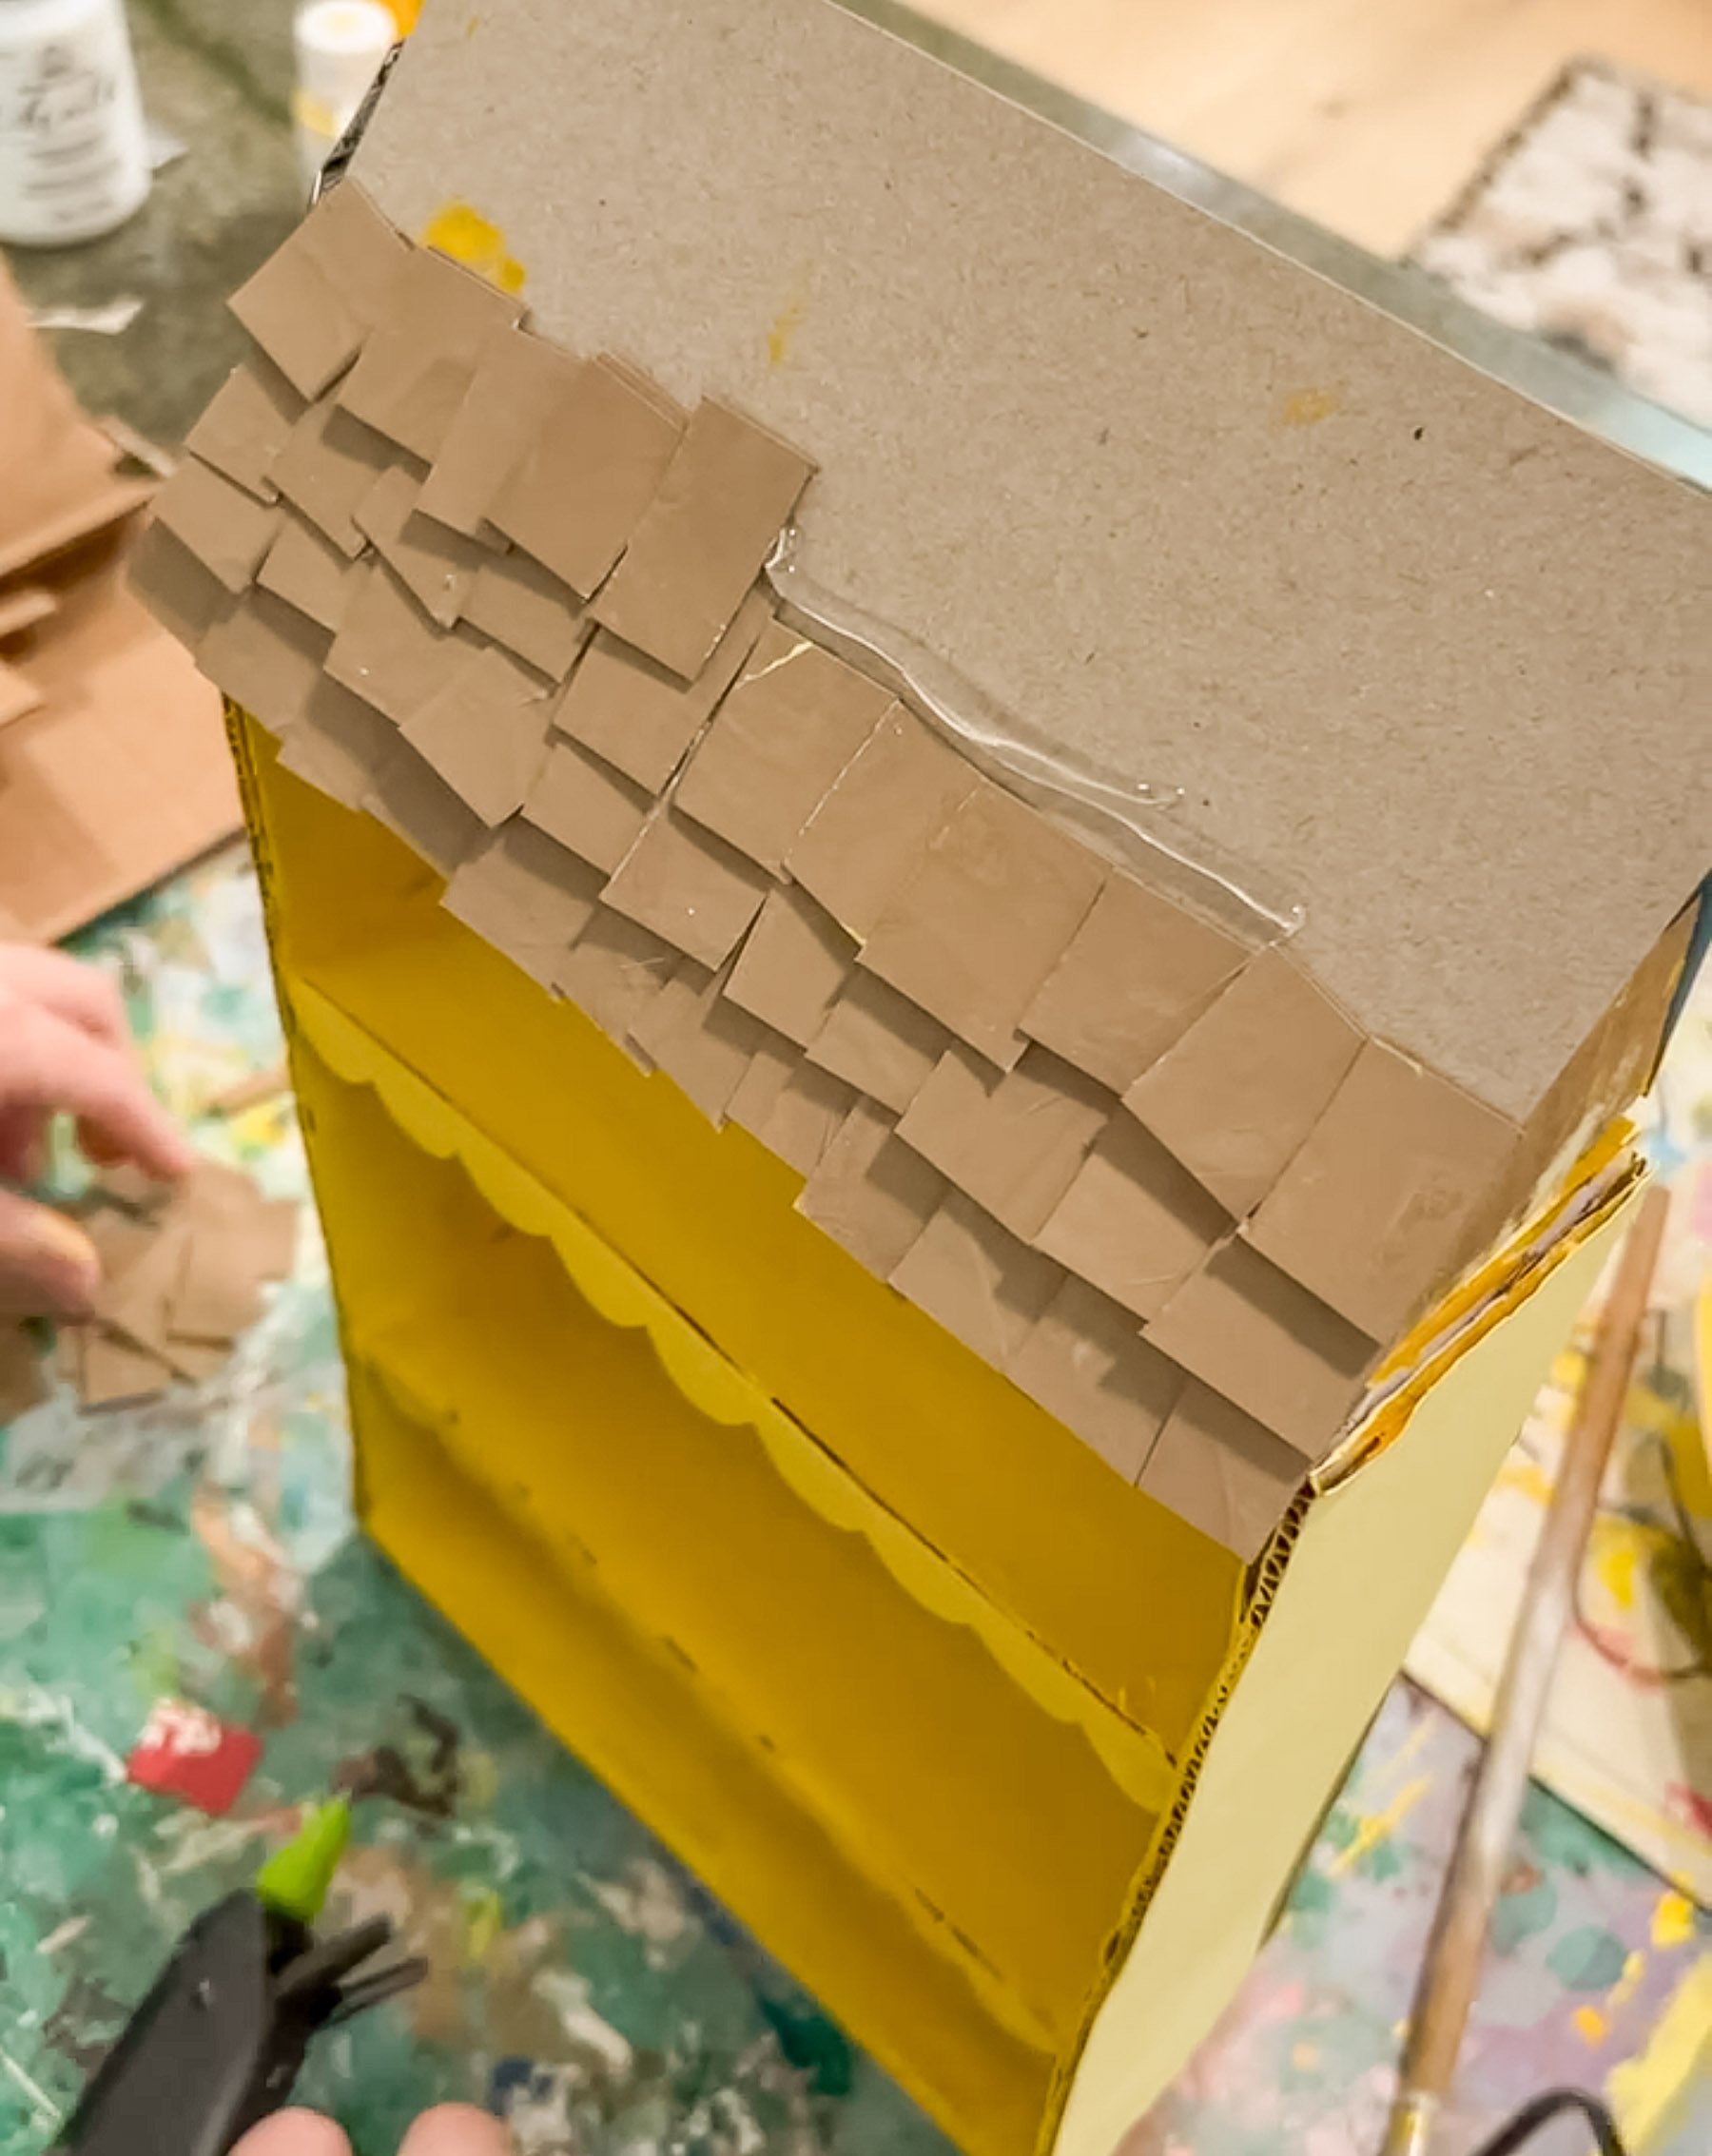
7. Make and attach roof shingles.
Next, cut little rectangle shingles for your rooftop. It will save some time if you paint the cardboard first, before cutting all the shingles. Then glue the shingles onto the roof cardboard with hot glue. Start at the bottom and work your way up, one row at a time.
Take it Further
- You can also cut out windows and doors, decorate each room / level with different colors of paint or patterned paper, and even stack multiple boxes to create a bigger dollhouse.
- Tiny furniture is also a fun thing to try. I made some quick dollhouse furniture using random things we already had in the house. Popsicle sticks and wood blocks work wonder too. But that was short lived because we really just use it as a storage shelf.
- If you are planning to use the completed project as a dollhouse, catalogs are great for clipping little pieces of dollhouse art and rugs as well – even printing things you see online from your home printer.

Cardboard Dollhouse from a Cereal Box
Equipment
- Scissors
- glue gun
- paint and paint brush
Ingredients
- cardboard cereal box
- thicker cardboard (from a shipping box is ideal)
Instructions
Cut the cereal box.
- Start with a cereal box and some thicker cardboard from a shipping box. Carefully cut the front panel from the cereal box, leaving all other sides intact.
Reinforce with more cardboard.
- Reinforce the inside of the box (back panel, sides, and bottom with thicker shipping box cardboard. Use a glue gun to attach.
Build and attach the shelves.
- Then start building the shelves. I just measured the inside of the box and cut cardboard pieces to fit. I doubled them up to make each one more sturdy and then added little support flaps underneath each shelf.
- Glue them into the inside of the box at varying heights.
Add decoration.
- Add a decorative edge to each shelf, like scallops, if desired, with more cardboard. Glue them on.
Make a roof.
- Roof time! I'm sure there are easier ways to make the roof, but here's what I did... I glued some cardboard flaps to the front and triangles to each side to create the roof angle. Once those were glued to the top of the cereal box, I glued a larger sheet of cardboard to the flaps and the triangles on the side. Then a back plate.
Paint.
- Time to paint. Paint the dollhouse base (everything but the roof) whatever color you decide. You'll likely need a few coats.
Make and attach roof shingles.
- Next, cut little rectangle shingles for your rooftop. It will save some time if you paint the cardboard first, before cutting all the shingles. Then glue the shingles onto the roof cardboard with hot glue. Start at the bottom and work your way up, one row at a time.