
How to make Christmas ornaments with paper and chipboard. Easy and so unique!
Each year, I make a couple new DIY holiday ornaments for Christmas to decorate the tree and give as gifts to friends and family. Sometimes I add them as gift toppers to make the package cuter and they serve as an extra gift that way too.

This year though, I may have gotten a little carried away. Because even though I already had plenty of ornaments, I couldn’t stop myself from making a few more. Honestly though, I’m so glad I did because the ornaments I’m sharing today are my favorites yet!
I used my Cricut Maker machine for all three ornaments. BUT you can also cut everything by hand using the included templates.
Click through to see all three DIY ornament ideas and download my custom templates to make your own.
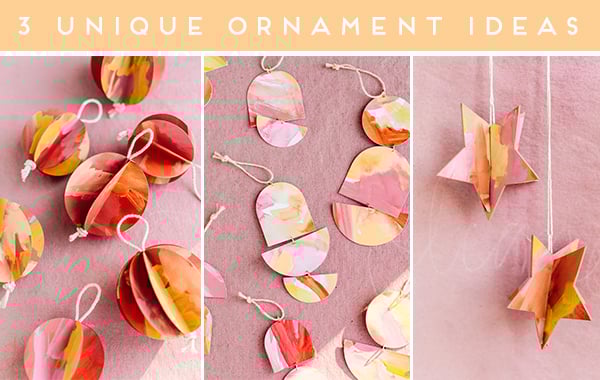
Unique DIY Christmas Ornaments 3 Ways
With all the different options for making ornaments, I wanted to stick with some kind of cohesive theme. Especially if they’re all hanging on the tree together.
So, I hand painted all of the materials I used…from paper cardstock to kraft board to chipboard.
And every material can be cut using the Cricut Maker machine. *You could also use another cutting machine. I think they all pretty much work the same way. I just already have a Cricut Maker, so that’s why I’m sharing how to use this one in particular.
If you’ve never used one before, you have to try it!!
It’s super easy to use and only takes a few minutes to setup. You can upload your own designs and start cutting immediately or access their huge library of ready-to-make projects and templates (via Cricut’s Design Space) if you need a little inspiration.
Every project is basically fool-proof. This will make more sense once you’re in the design space making something, but I’ll try to explain…
When you select a design template to make (or make your own) and click the Make It button, it will ask you what material you’re using and let you know if you need a special blade, all before you get started with the cut. So it comes out perfect every time.
It also tells you how far along the cut is, in process, while it’s cutting so you know what to expect in terms of timing. This is especially helpful for longer cuts, like when using the 2mm chipboard (which I used for DIY holiday ornament #2).
Anyway! Let’s get to the ornament projects…
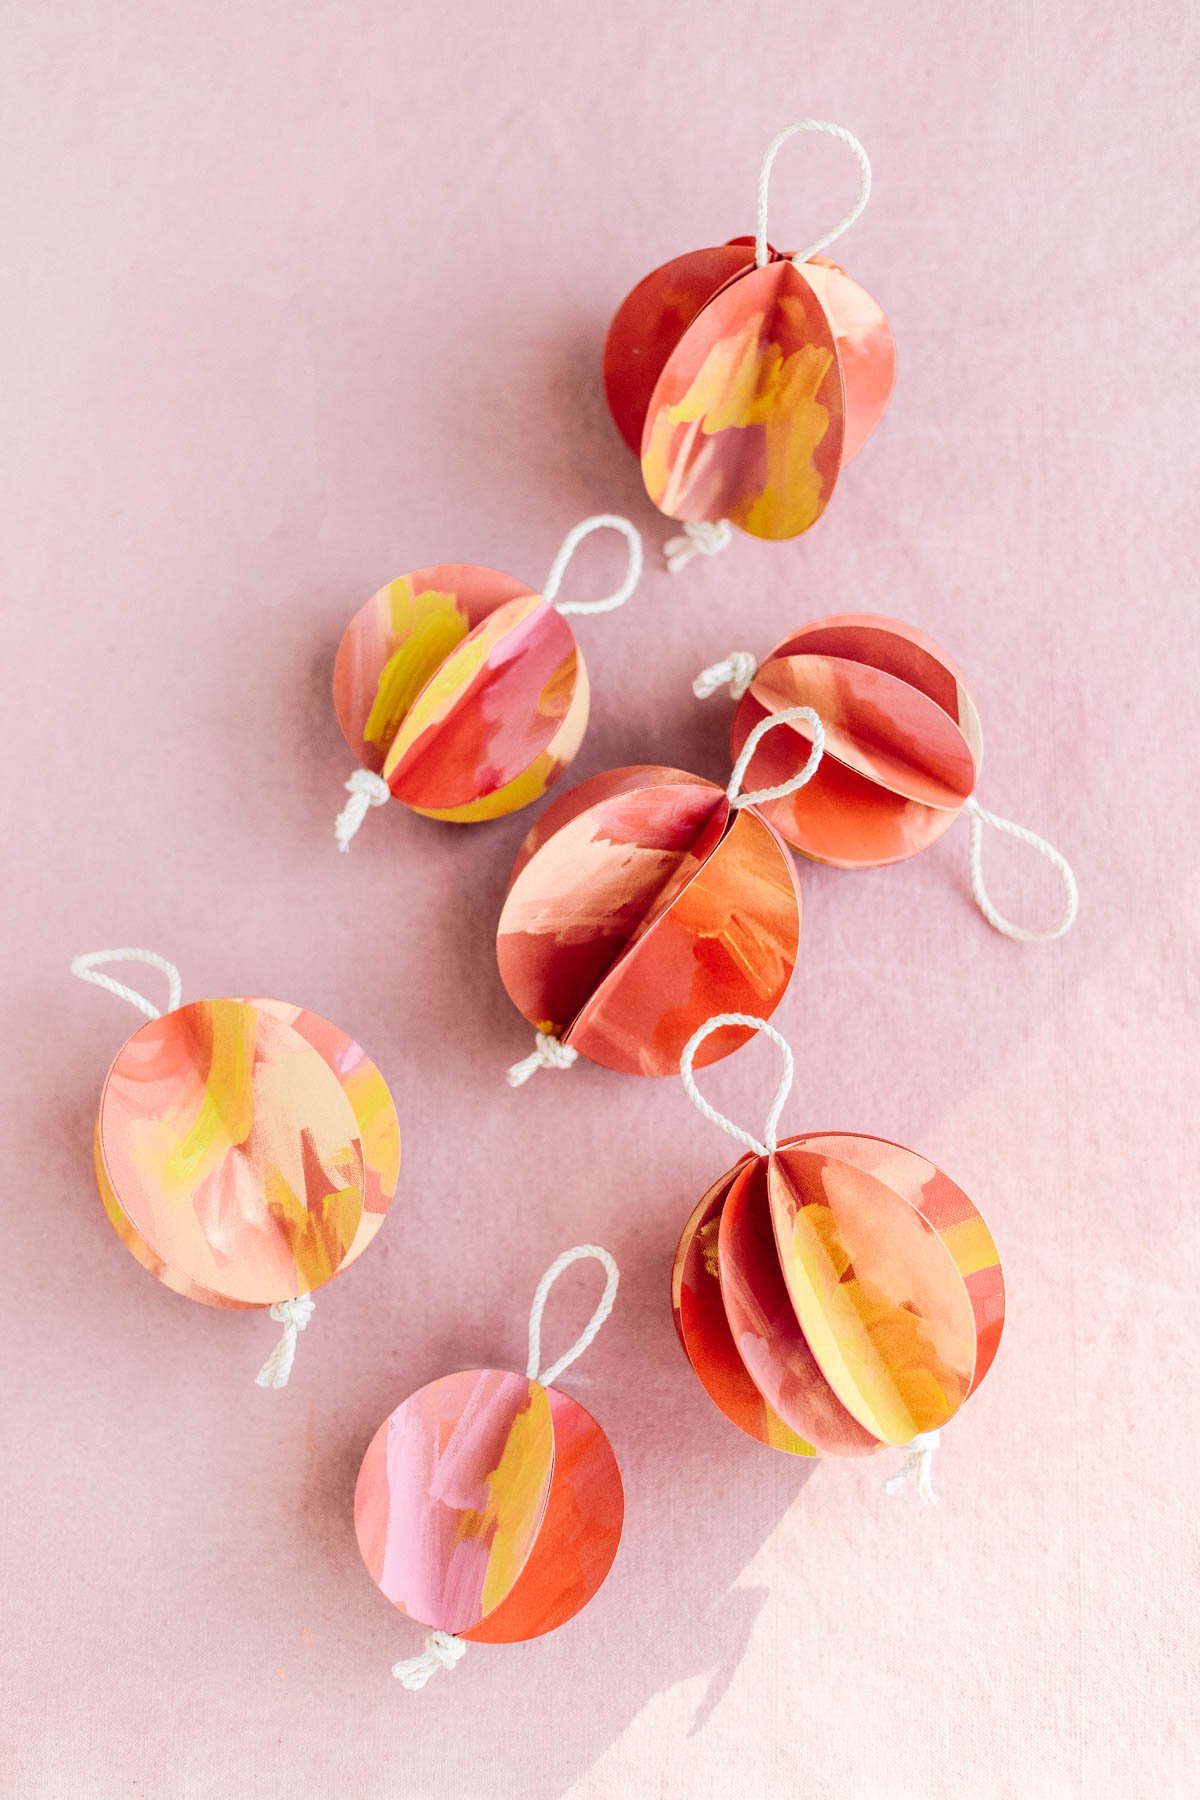
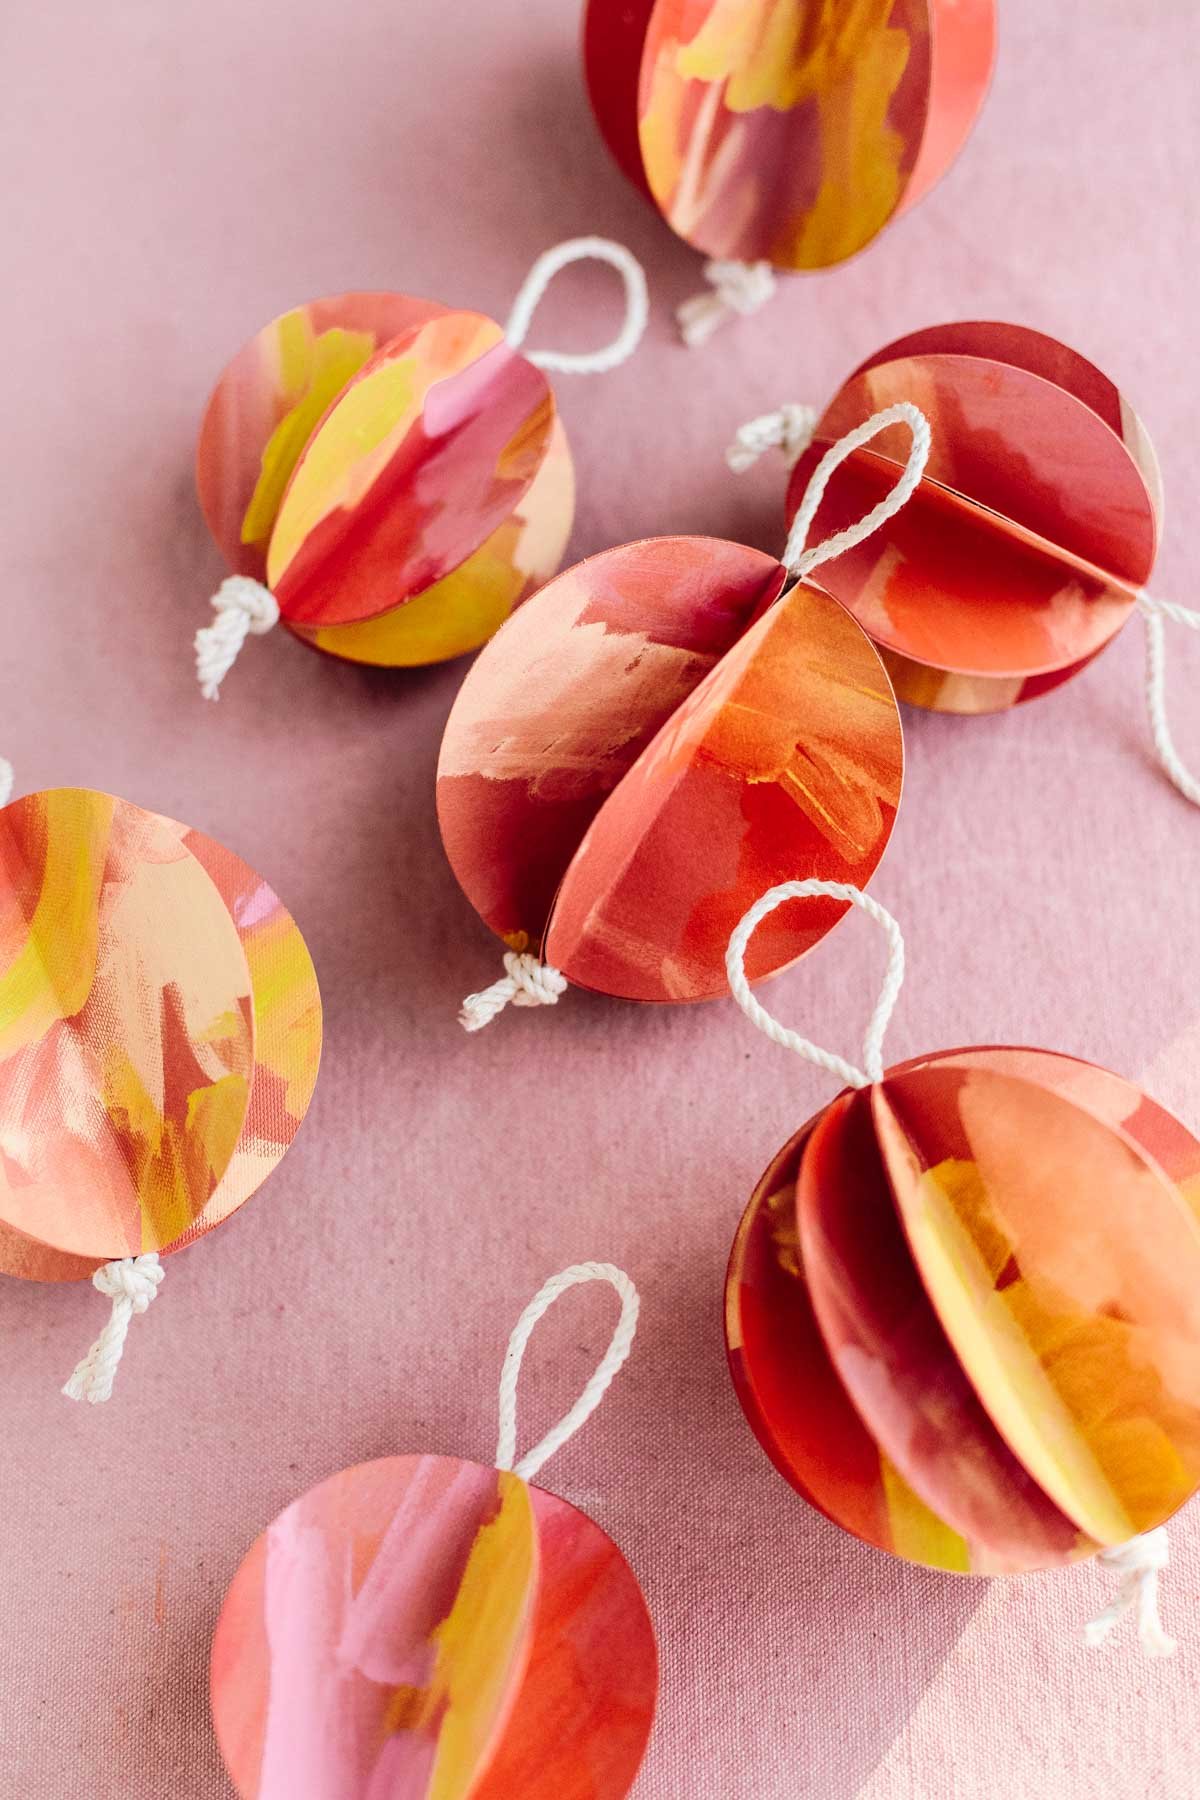
DIY Holiday Ornament #1: 3D Balls
1. For these 3D ball ornaments, I created a simple circle template and used the Cricut Maker to cut out all the circles for me.
For this one, I recommend using a solid color medium weight cardstock. I used the dark orange 12×12 cardstock from Cricut.
2. Then, after painting everything and allowing it to fully dry, I folded each circle in half and glued the circles together at the folded flaps to start forming a ball shape.
Make sure the painted sides of the paper are facing outward.
3. Then when I had just a couple more circles to add, I added a long piece of string (folded in half) through the center. And I left about three inches at the bottom. The tails of the string should be at the bottom and the loop should be coming out the top of the ball.
4. Finish up the remaining circles to complete the ball. Then tie off the bottom hanging down part of the string with a bead. OR do a thick knot instead if you’re using a thicker string like mine.
Download the template for the 3D ball ornaments here.

DIY Holiday Ornament #2: 3D Stars
I made these 3D star ornaments with Cricut’s chipboard.
1. The beginning process for this one was just like the other two, I created a file, imported it into the Cricut Design Space, and the Cricut Maker cut out all the shapes for me. You’ll need the knife blade + drive housing for this project.
2. From there, I hand painted each side and then put the puzzle pieces together to form three-dimensional stars. You’ll need two stars total to form one ornament – one with a slit in the top of the star and one with a slit in the bottom.
3. You can add a little string to the top of each finished ornament or nestle them into the tree as is, since they’re so dimensional and lightweight.
Download the template for the 3D star ornaments here.

DIY Holiday Ornament #3: Geo Stacked
Inspired by current jewelry trends, I made ornaments that mimic geometric earring designs.
1. Once I created the shape templates in Photoshop I uploaded it to the Cricut Design Space and cut it out with the Cricut Maker, selecting the kraft board material before starting.
2. Then, I painted the pieces just like the last ornament project, this time on both sides though.
3. And then carefully add small jump rings (the ones your use for jewelry making) to the holes in the top and bottom of the shapes. The idea was to create some festive Christmas tree ‘jewelry’.
The template I created (linked below) has tiny holes already in the shapes, and lots of options so you can choose different arrangements when making your own. Some shapes have two holes, which can be used for top and middle placement and some shapes only have one hole, to be used as the bottom piece.
Use the weeder tool to poke through holes if necessary, to remove any excess paper.
4. Then, you just add a string to the very top jump ring and it’s ready to hang from the tree. OR as another option, you can use the pieces to create a long garland using the same method of connecting the shapes with jump rings and skip the string.
Download the template for the geo stacked ornaments here.


And that’s it for my holiday ornament DIYs.
To make it easy to find all 3 free ornament templates in one spot, I’m including them below…
- Template for the 3D ball ornaments
- Template for the 3D star ornaments
- Template for the geo stacked ornaments
Do you make any holiday decorations each year for Christmas?
5 comments | Click here to reply
Sound so innovative!! It’s so mesmerizing to read this
Nippon[…] making DIY ornaments last year with my Cricut Maker, I was curious to see what else I could do. Hint: SO many things. […]
Mother's Day DIY to Try: Iron-On Decals for Purses, Pouches and More + A Cricut Maker Giveaway - Paper and StitchMy family and I reuse the same ornaments every year. But ever since we moved to a smaller apartment, we don’t even have a Christmas tree anymore! But I’ll probably still make these ornaments for friends or just to hang randomly around the house. My favorite is the 3D stars. So pretty!
Home AriseThanks Angel!
BrittniThese are amazing. I too try to come up with a handmade ornament each year for my group ornament exchange. These are so creative and perfect to put in my idea arsenol. 🙂
Angel Shaver