I’m not really sure why, but I’ve been wanting to create something lately that I can hang off of a purse or backpack that gives it a little extra something. Maybe it’s my inner back to school kid that’s making me head down that path. Or maybe it’s the fact that I want to justify both a DIY project and a purchase of one (or more) of these bags for fall. We may never know.
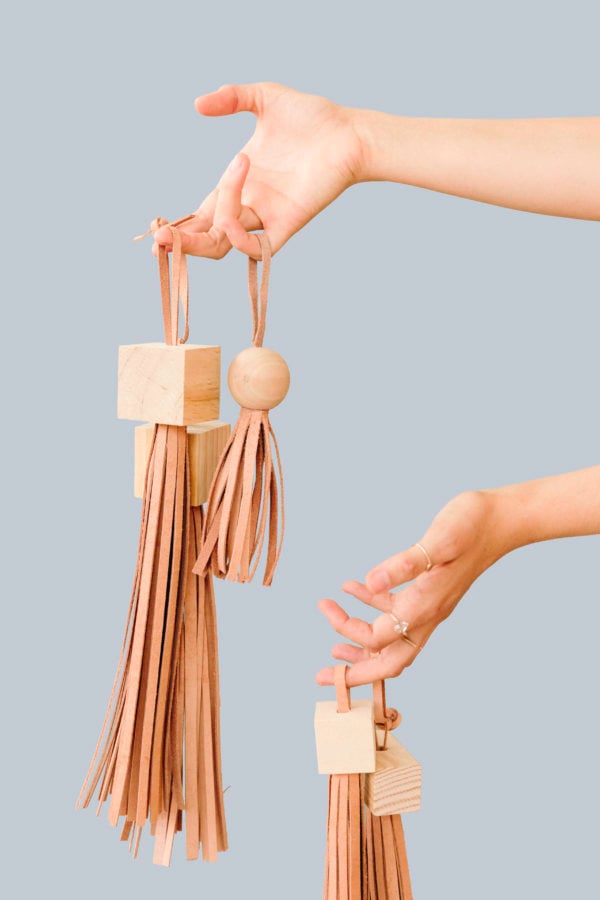
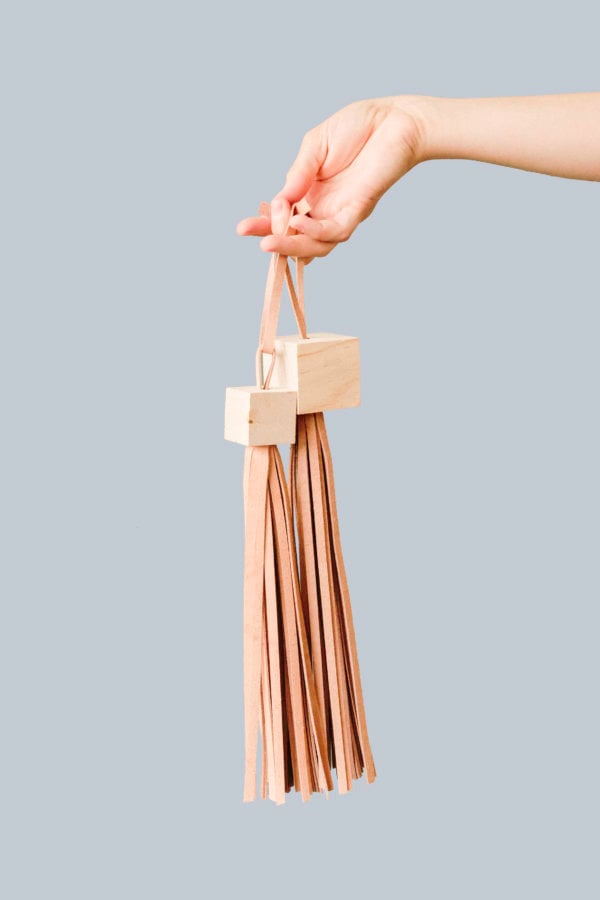
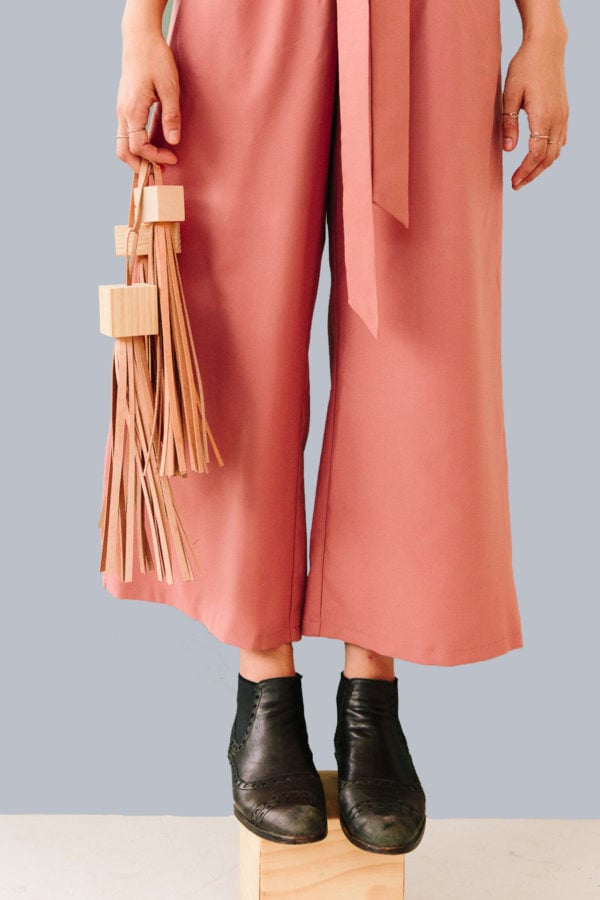
But the point is, I made some leather and wood block tassels and they’re kind of crazy and I also kind of love them. They look like geometric jellyfish. And that’s okay in my book. Click through for the tutorial.
Side note, before jumping in… My Building Block bag is my fave purse I’ve ever had and one of the things that I love most about it is the wood ball piece that hangs off one end. You can see it here. So, I thought, why not combine a leather tassel with the playful geometric wood blocks I love so much. And these little guys were born.
I haven’t seen any tassels quite like this before (if I missed them somewhere, let me know?!) and I’m pretty into the fact that they’re neutral and made of natural materials but still feel super bold and interesting. ANYWAY, here’s how I made them…
Materials and Tools
- wood blocks
- leather (here’s what I used)
- rotary cutter
- straightedge / ruler
- cutting mat
- hot glue gun and hot glue stick
- table vise or bench vise (mine is similar to this one)
- drill with spade bits (I use 1/4 inch and 3/4 inch)
DIY Statement Tassels with Wood Blocks and Leather
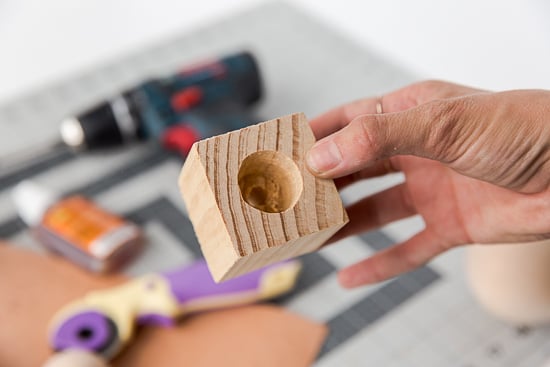
1. Use a table vise or bench vise and secure wood block in the clamp, so that it’s ready to be drilled. Start by drilling a hole through the center of a wood block, with a 1/4 inch spade bit.
Then flip the block over and drill a hole half way through the other side with a 3/4 inch spade bit. This will give you a block with a small hole that goes all the way through and a notched out area on the opposite side that you’ll need for the leather tassels later. See photos.
2. Next, measure cut a piece of leather (the exact size will depend on the size hole you create in the block). It took me a little trial and error to figure out. But I just cut a piece that I thought would be slightly too big, then rolled it up to see if it fit snuggly in the second hole created in step 1. From there you can cut it down or add more.
Once you have the right dimensions, mark off every 1/4 inch at the top of the leather with a pencil. I think my piece of leather in the photo was 11 inches by 7 inches. Then use a rotary cutter and a straightedge to cut 1/4 inch wide strips that run the majority of length of the leather – leave the top uncut so that the whole thing stays one piece.
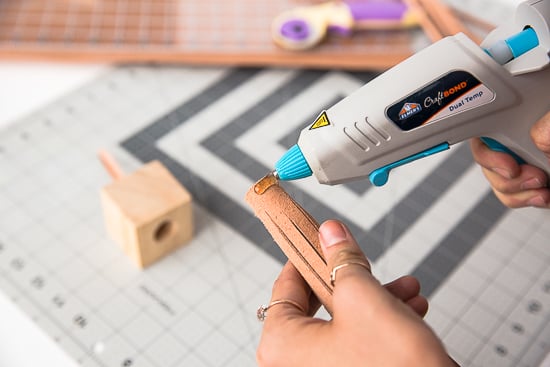
3. Add a long bead of hot glue to the top of leather, as shown in photo. Then, roll the whole thing up to create more of a tassel shape.
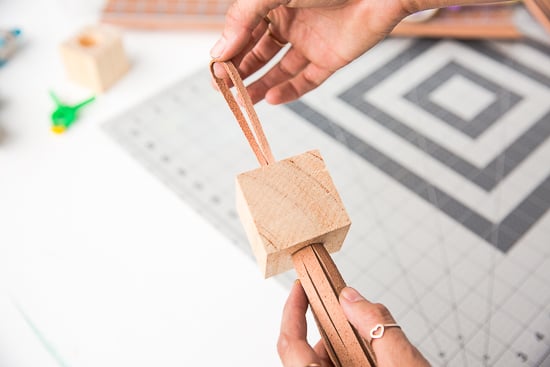
4. Next, cut a long strip of 1/4 inch wide leather to create a strap that can be looped and knotted through the hole in the wood block.
5. Then, add a bead of hot glue all the way around the top of the tassel and insert it into the 3/4 inch hole that was drilled at the end of stop 1. It should fit pretty snuggly in the hole and the glue just helps make it even more secure.
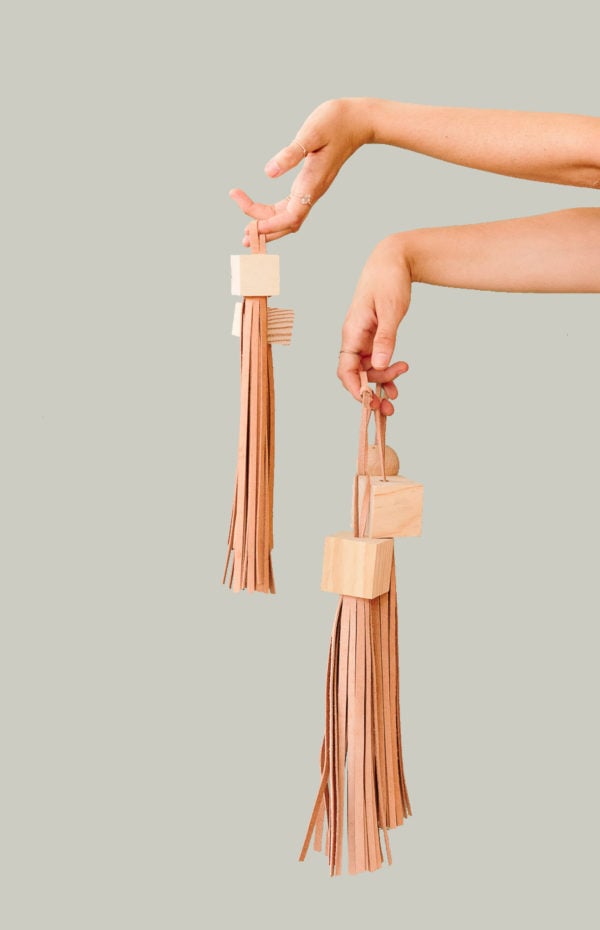
And that’s it! Pretty easy, right? Once I got the first one done, I made a few more that were different shapes…a circle, smaller square blocks, a rectangular block, etc. I made all of them the exact same way as the first and cut the ends to various lengths so they’d all be a little different.
Photography and styling Brittni Mehlhoff
Modeling Cori Maass
Don’t they kind of look like geometric jellyfish? Can you think of anything other uses for these tassels, btw? I hung a few on the wall the other day and liked the look of that…kind of like earrings for your wall. But was wondering if there were any other uses / decor opps that I missed?






25 comments | Click here to reply
Amazing Joan. Thanks for sharing the link. 🙂
BrittniWhen I first saw these I fell in love. One special twist. My boys are 4 and 6 and love to build and these are perfect for them to make for the tree. We bought a large bag of foam blocks that look EXACTLY like the real wooden blocks and weigh practically nothing. https://www.target.com/p/edushape-wood-like-30-pc-firm-foam-blocks/-/A-14277470?
Joan SheppardThanks for sharing all these wonderful ideas. It’s June and I’m going to try these tonight.
EPIC!! WOW! Love it! Most definitely will be making one!
Jake kaweblum[…] DIY herringbone hair clip from Urk Art 2. DIY faux speckled candles from Almost Makes Perfect 3. DIY statment tassels 4. cute and cozy DIY beanies 5. leather basket DIY from Hello Nest 6. knit washcloths DIY from Purl […]
6 Weekend DIYs to Try - Paper and StitchOMG! Perfect tutorial. Love that earrings
tasselmaniaMais quelle magnifique idée !! C’est superbement réalisé et très élégant ! J’adore ! Un grand bravo!
Michele[…] DIY statement tassels 2. eco dyeing DIY from Frankie 3. large scale DIY rug (patchwork edition) 4. DIY fabric cocktail […]
8 DIYs to Try This Weekend - Paper and Stitch[…] DIY statements tassels for bags, […]
63 Awesome DIY Gifts for Everyone on Your List + What's your Favorite Gift You've Ever Received?! - Paper and Stitch[…] unique tassel ornaments made of wood and […]
Cool DIY Ornament Ideas to Get your Tree Through the Holidays in Style[…] DIY pom pom earrings from Honestly WTF 2. DIY statement tassels (made of wood and leather) 3. DIY tree slab side table from Emily Henderson 4.faux stone trivets […]
6 DIYs to Try This Weekend - Paper and Stitch[…] – After all this time, I still love a good tassel. […]
Friday Links - The Crafted Life[…] In case those hanging leather tassels look familiar, its because I shared the tutorial for them a while back (here). Getting lots of use […]
Wall Crawl: An Easy Embroidered Wall Art Idea - Paper and Stitch[…] Chandelier Statement Tassels Eucalyptus Shower Spray DIY Woven Headboard Modern Bowl Planter Ostrich Feather Shoe Clips Rope […]
50 Must Do DIYs | September | Fall For DIYI love this photos and I think these tassels would be perfect wall decoration.
Emma Clayton[…] DIY clay knot paperweight from Fall for DIY 2. easy DIY twist hairdo from Oh Happy Day 3. DIY statement tassels 4. salted caramel white russians from Kate La Vie 5. DIY floral sun catcher from Monsters Circus 6. […]
6 DIYs to Try This Weekend - Paper and StitchI love post i love this blog
The pink pineappleNew post:http://thepinkpineappleblog.blogspot.com/2017/09/nyfw-day-1.html
Blog:http://thepinkpineappleblog.blogspot.com/
Think home-decor. I see lots of tassels on drapery cords, pull-backs and swags… And as much as I love raw wood, for that, it might need paint or stain to pull it all together.
JanNow to dig out my trusty little work-mate workbench so I can clamp some blocks and make some of my own.
Jan
🙂 Thanks Kimberly.
BrittniI am loving the vibe of these photos! The creative direction is on point. Oh, and the project is cool, too. The tassels would make great wall art.
KimberlyFunny you should say that Jane. We were going to make some earrings as well, but I didn’t have the jewelry tools I needed at the time. Maybe a future DIY?
BrittniI think that these could be fabulous earrings even at that size. What a statement those would make!
Jane MasserHaha. I hear ya Courtney….I turned one into a luggage tag for my suitcase, have a shorter one hanging from the zipper pull of my backpack, and two of the bigger ones hooked onto the handle of a large leather tote / purse. And then the rest of them are hanging on the wall right now, next to my desk. I should have taken some pics of how I’ve been using them so far. I’ll try to update with more photos when I can. 🙂
BrittniThose tassels are so cute! I love how it’s modern, and cute. But I just don’t know what you would do with the tassels other than taking cool pics.
Courtneyhttps://sugarcoatedbears.blogspot.com/
Thanks Michelle. Much appreciated.
BrittniThey look so precious and expensive, wow!
Michellehttps://www.makeandmess.com/